


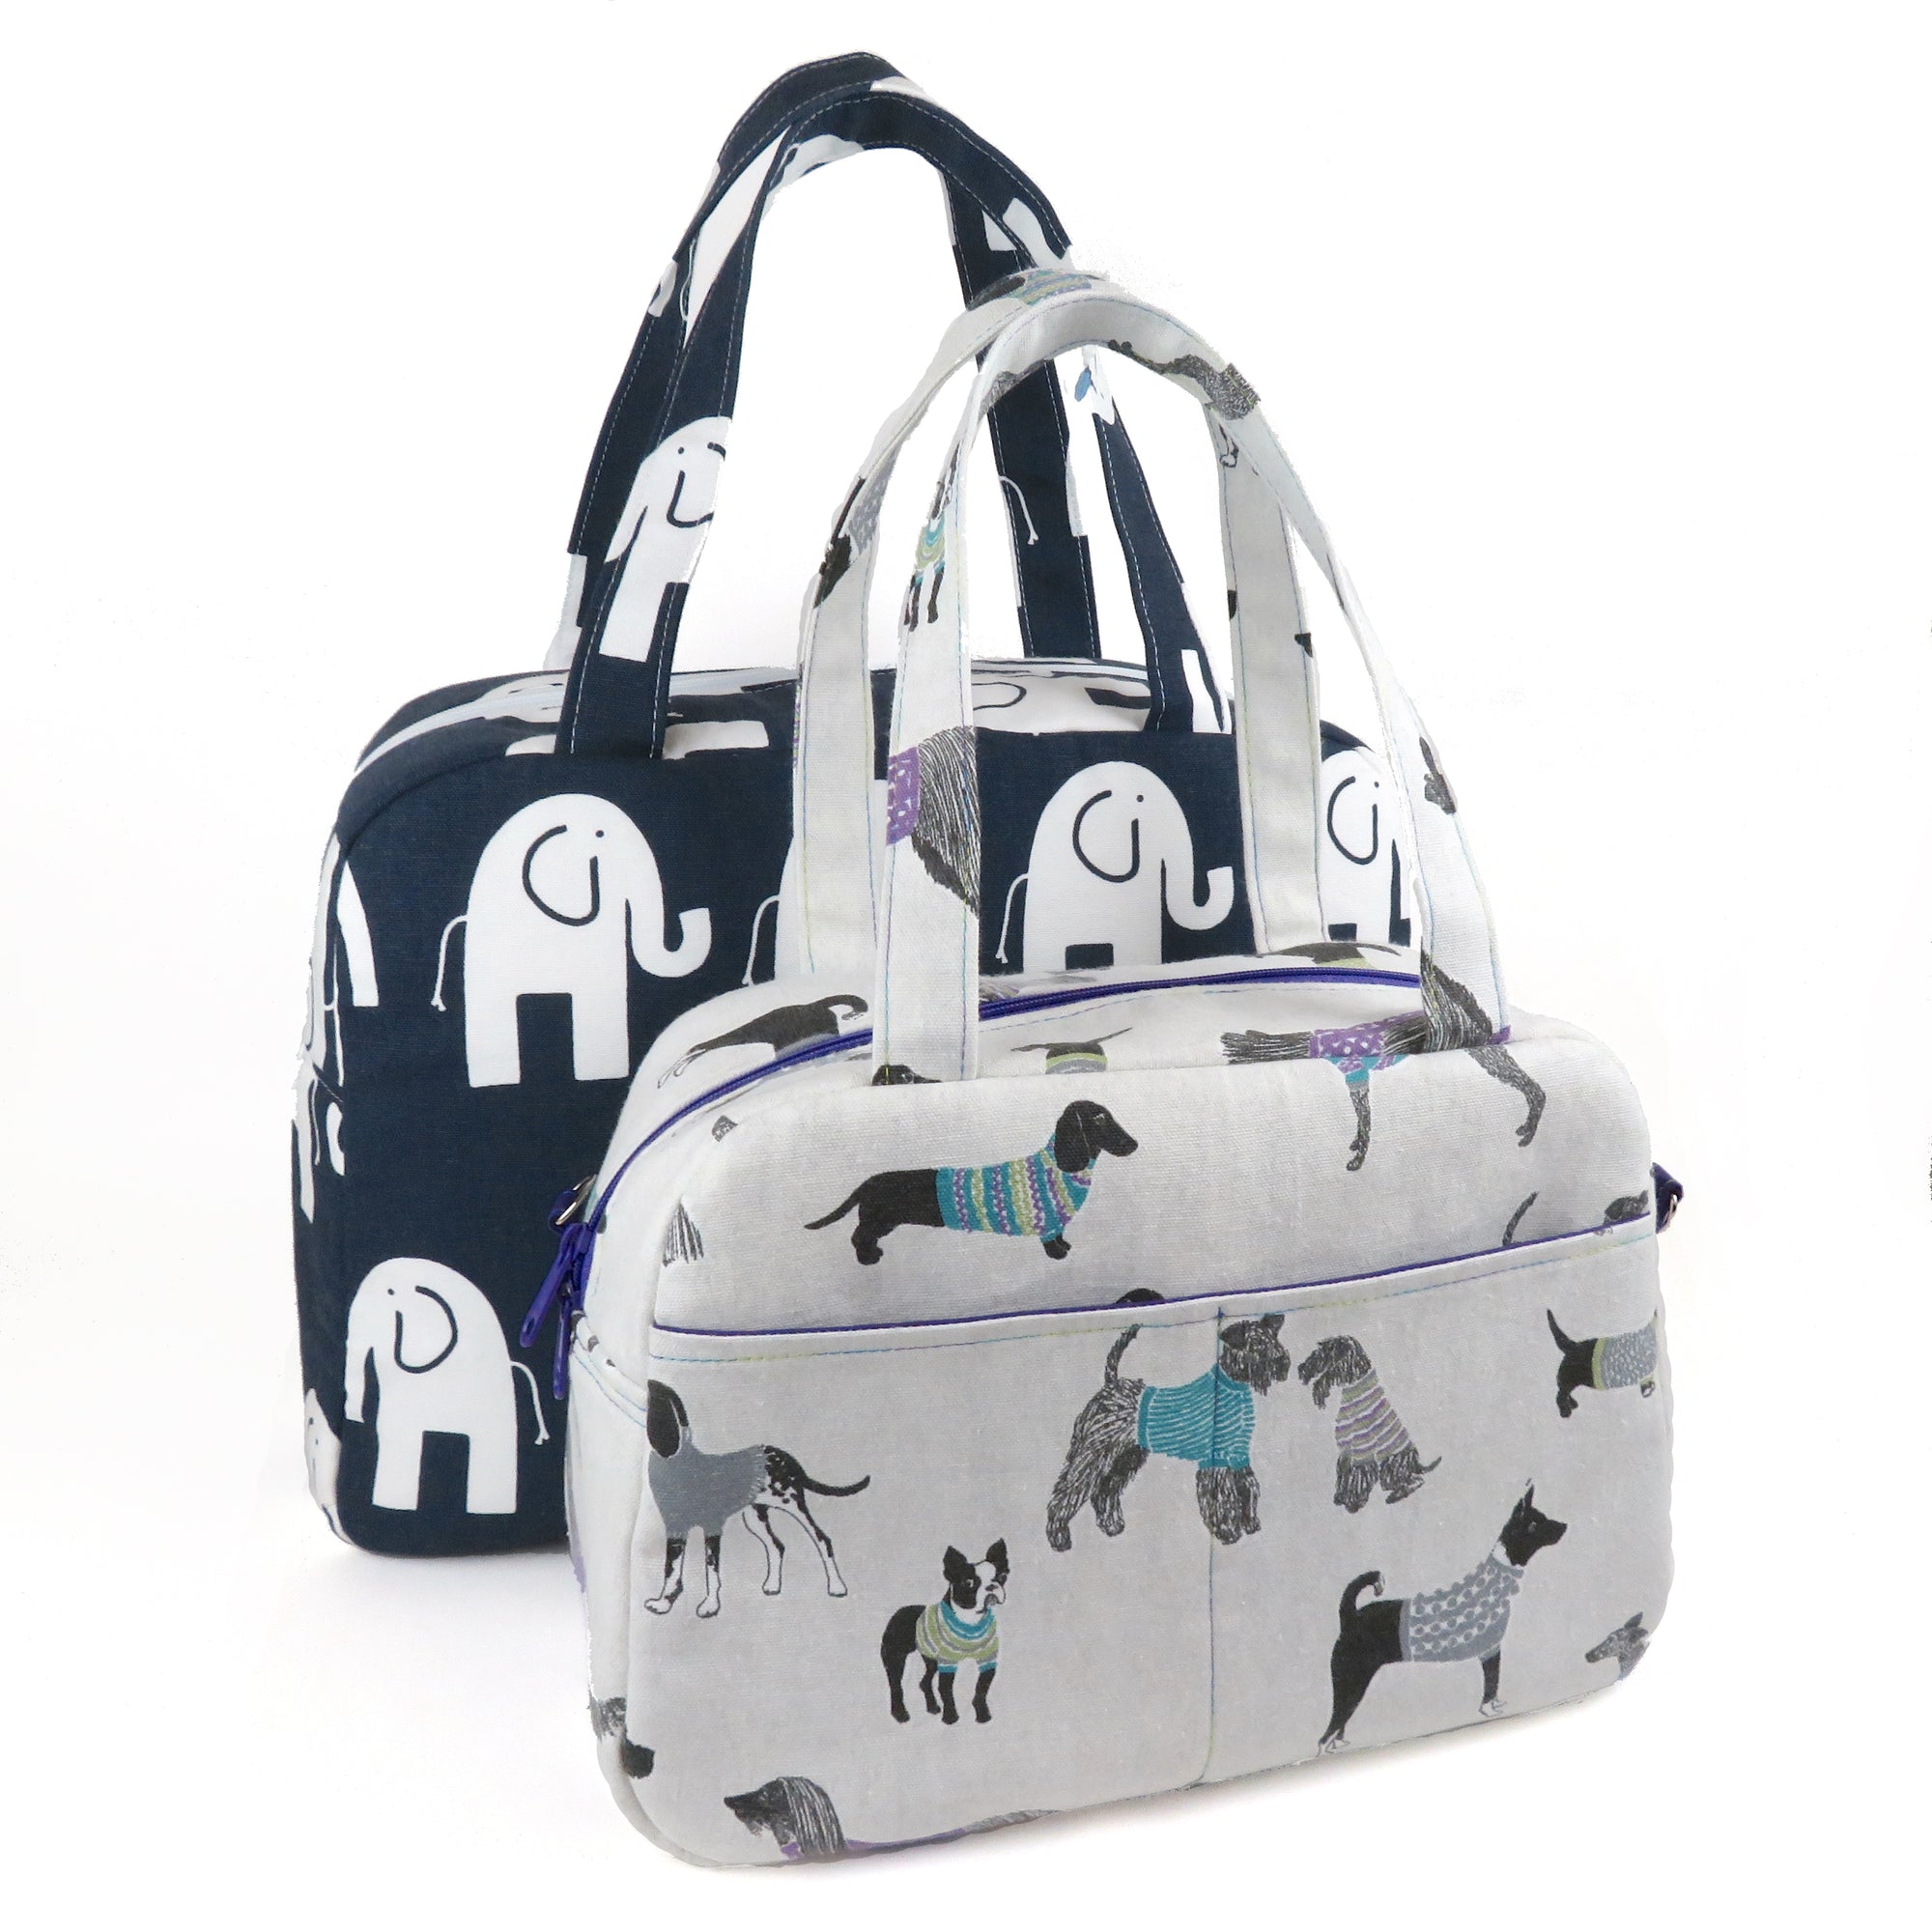


Daily Duffel Sewing Pattern
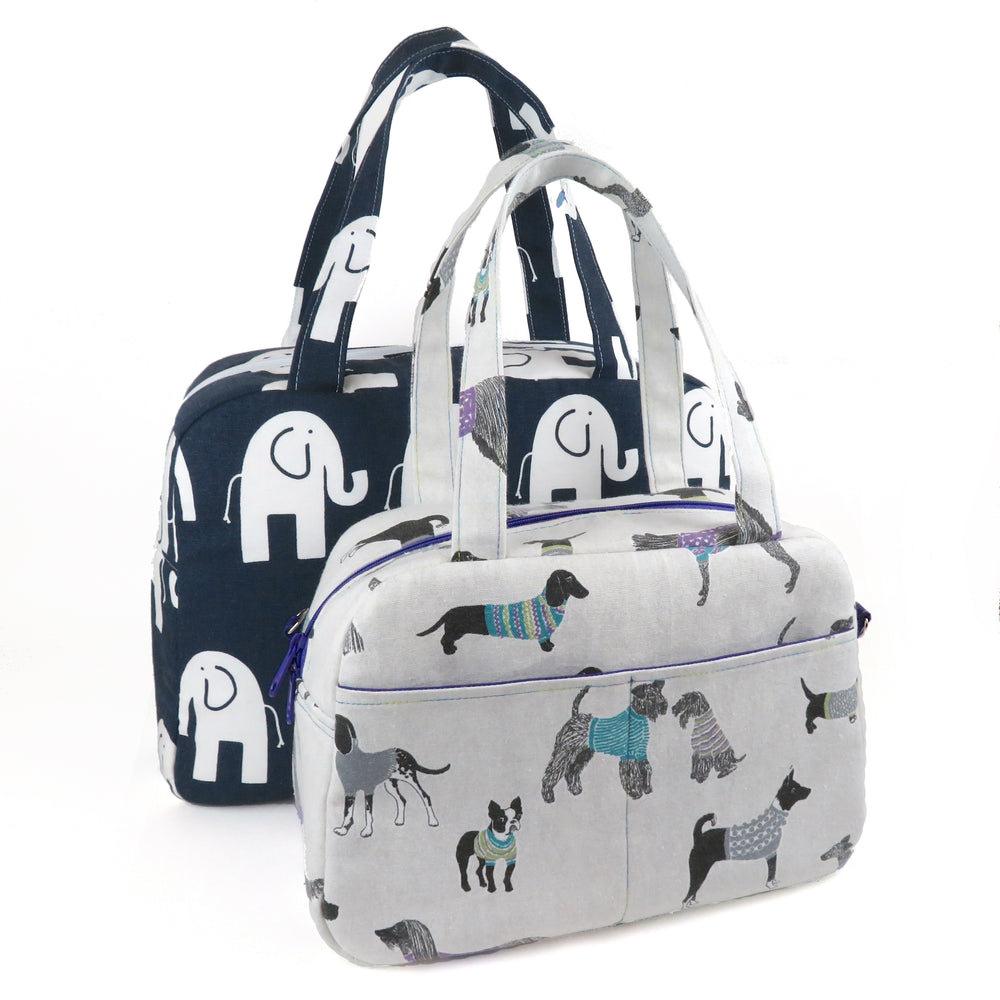
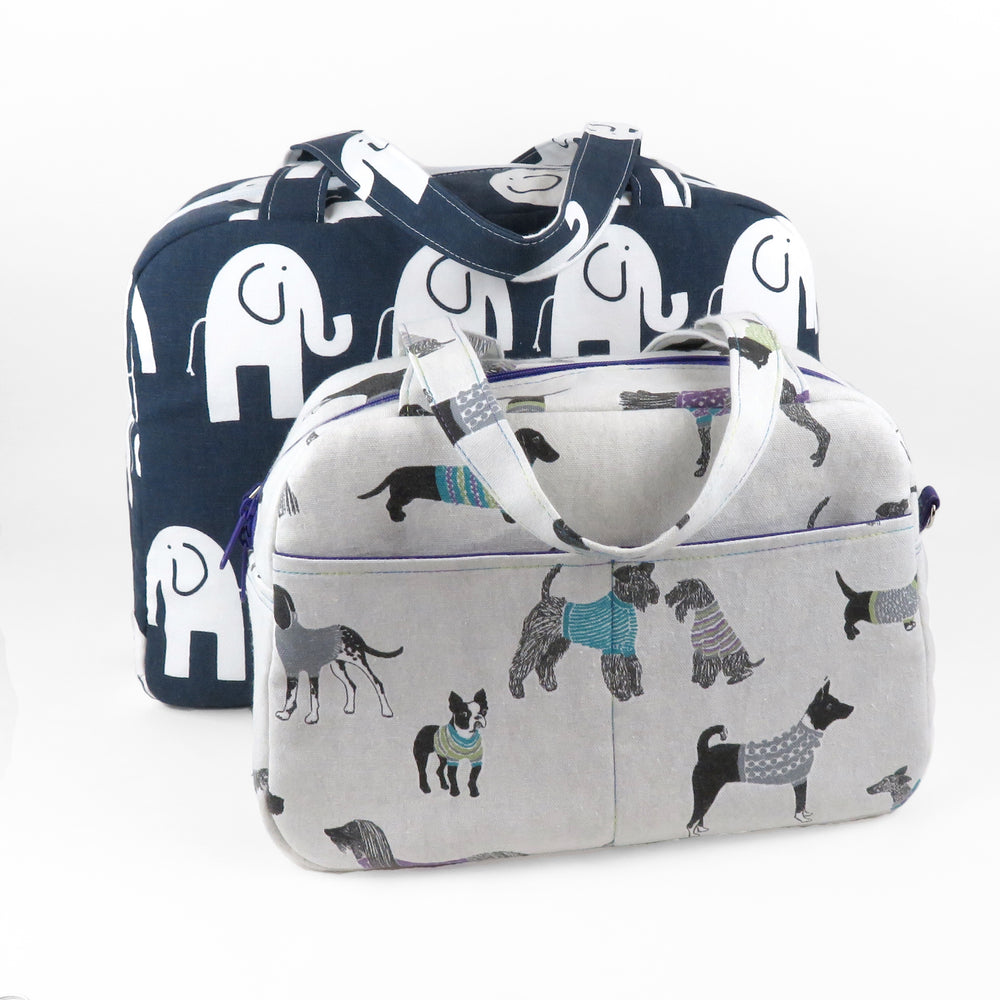
- Two sizes!
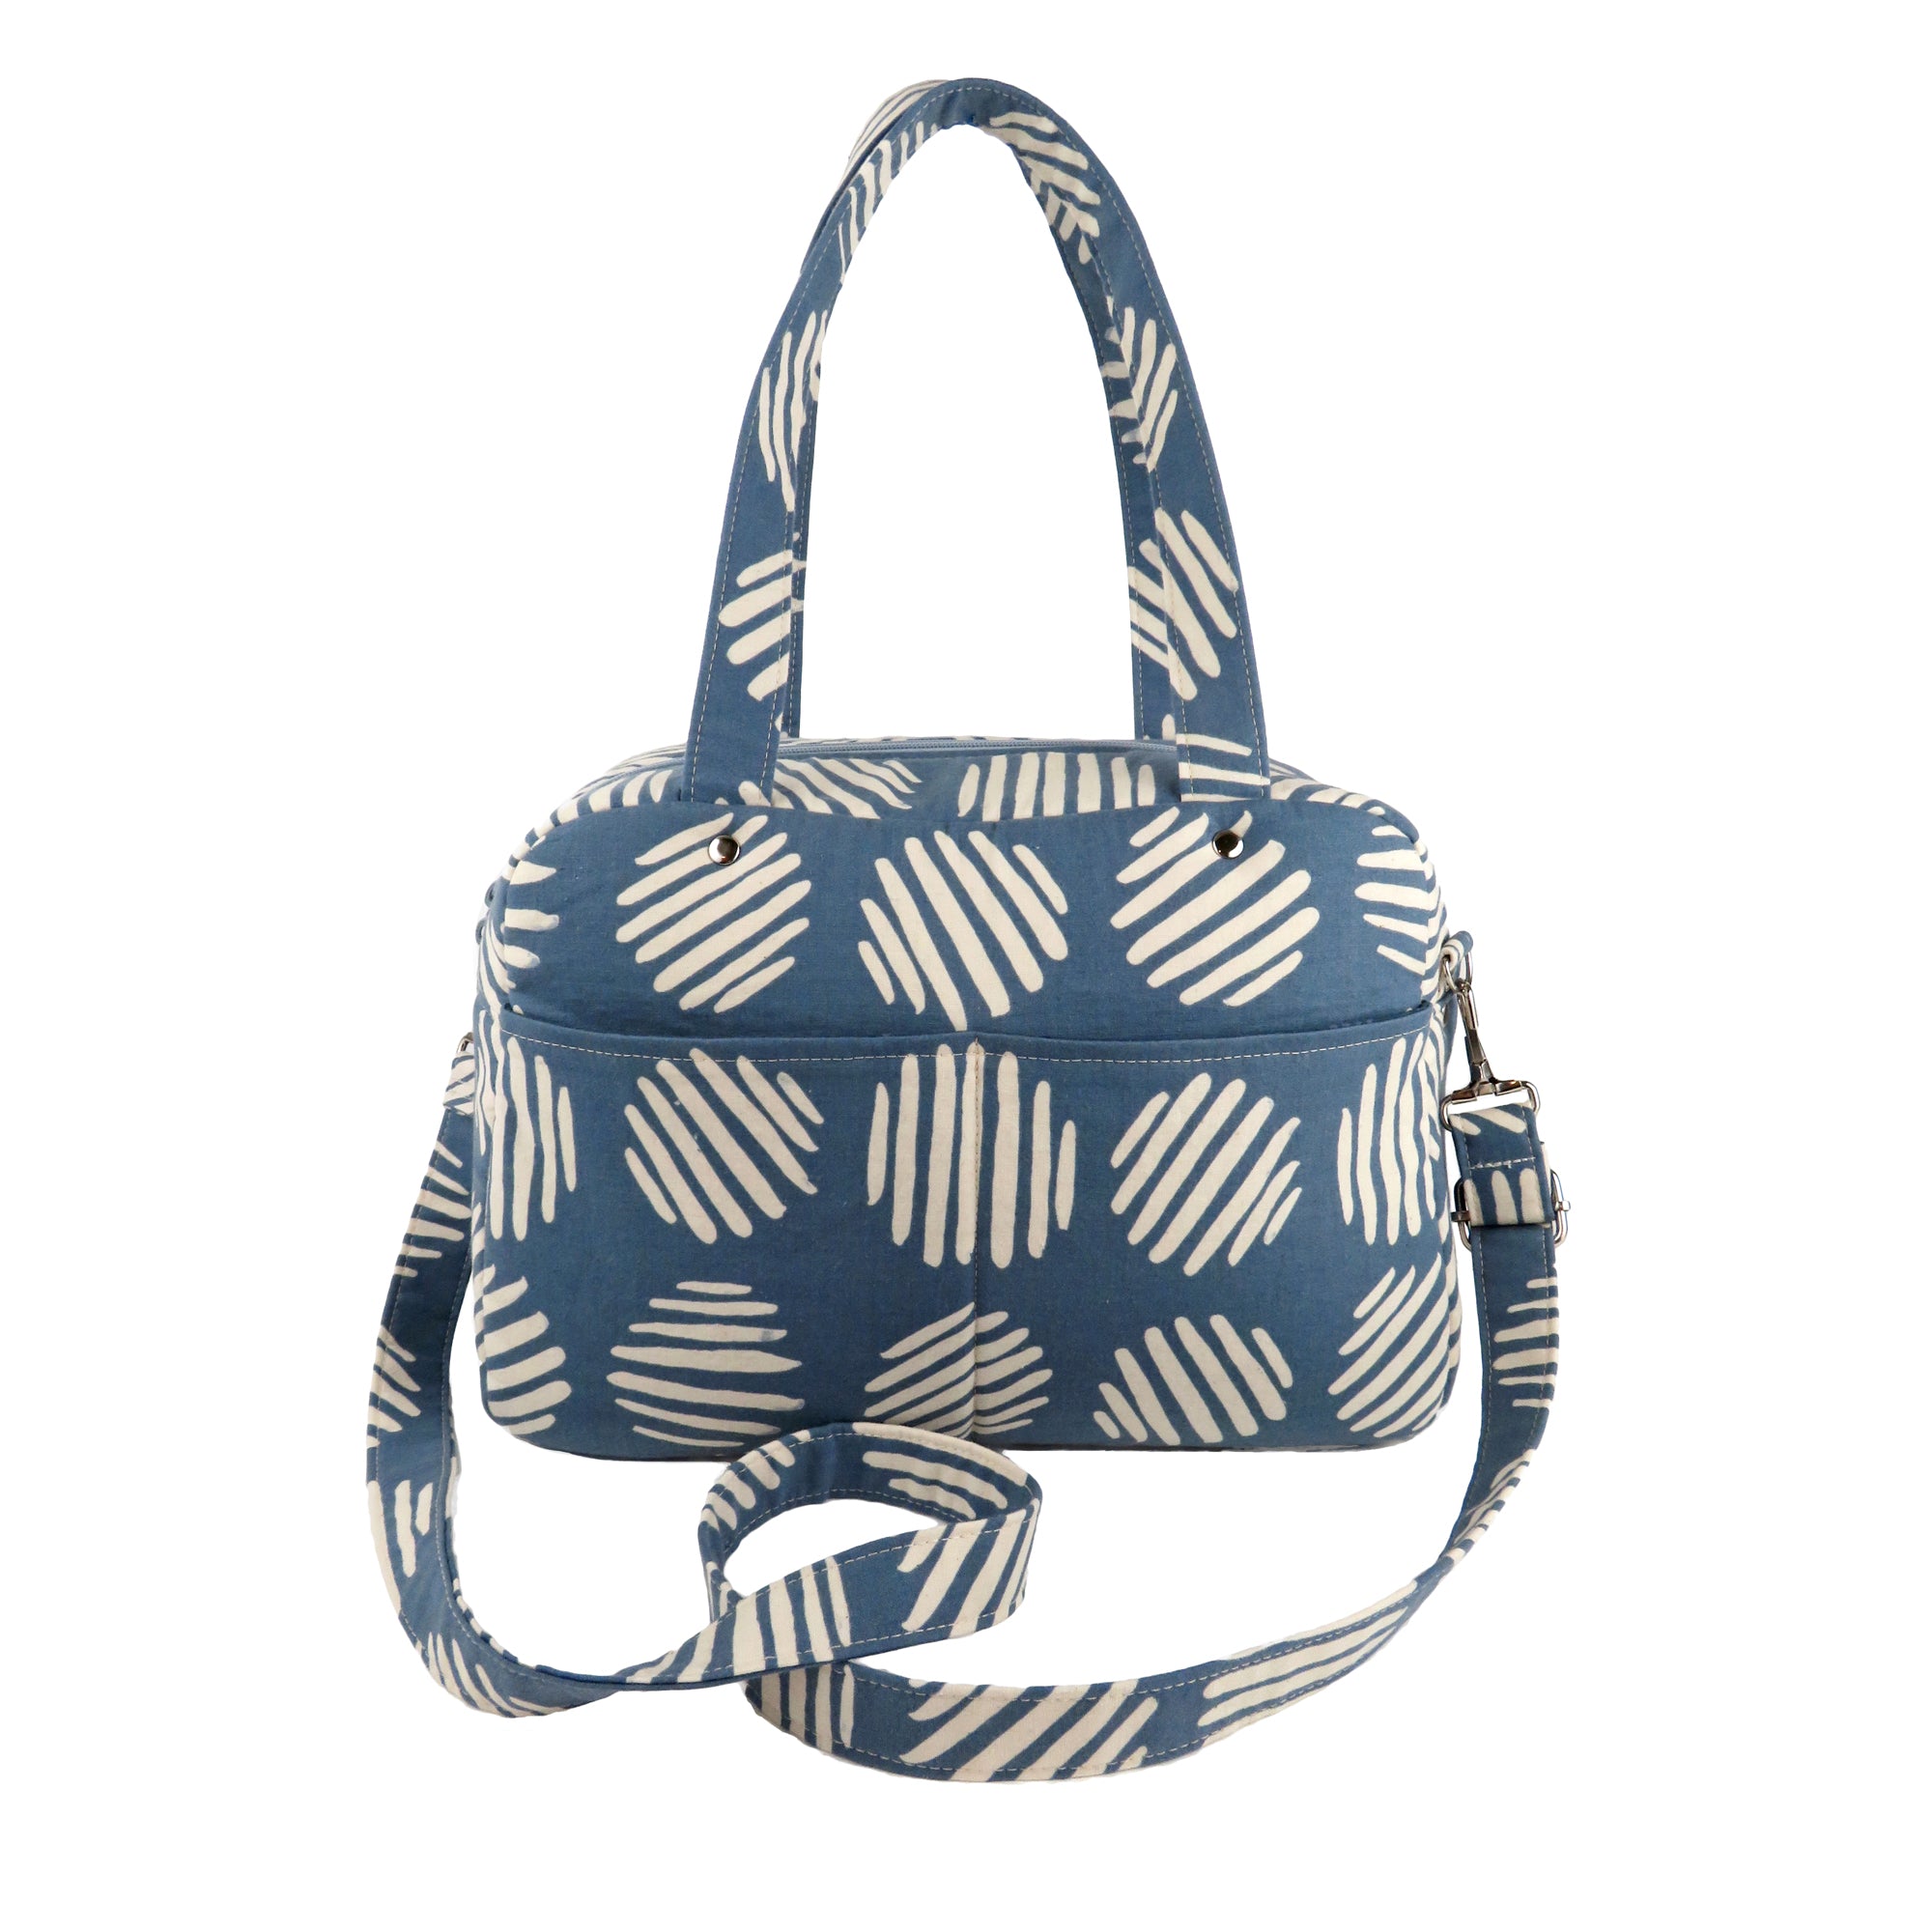
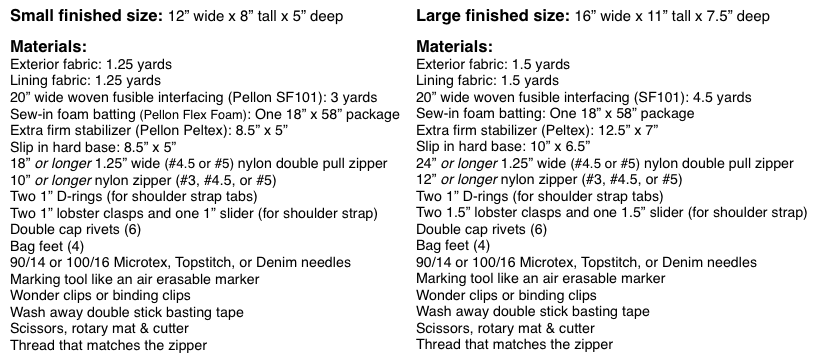
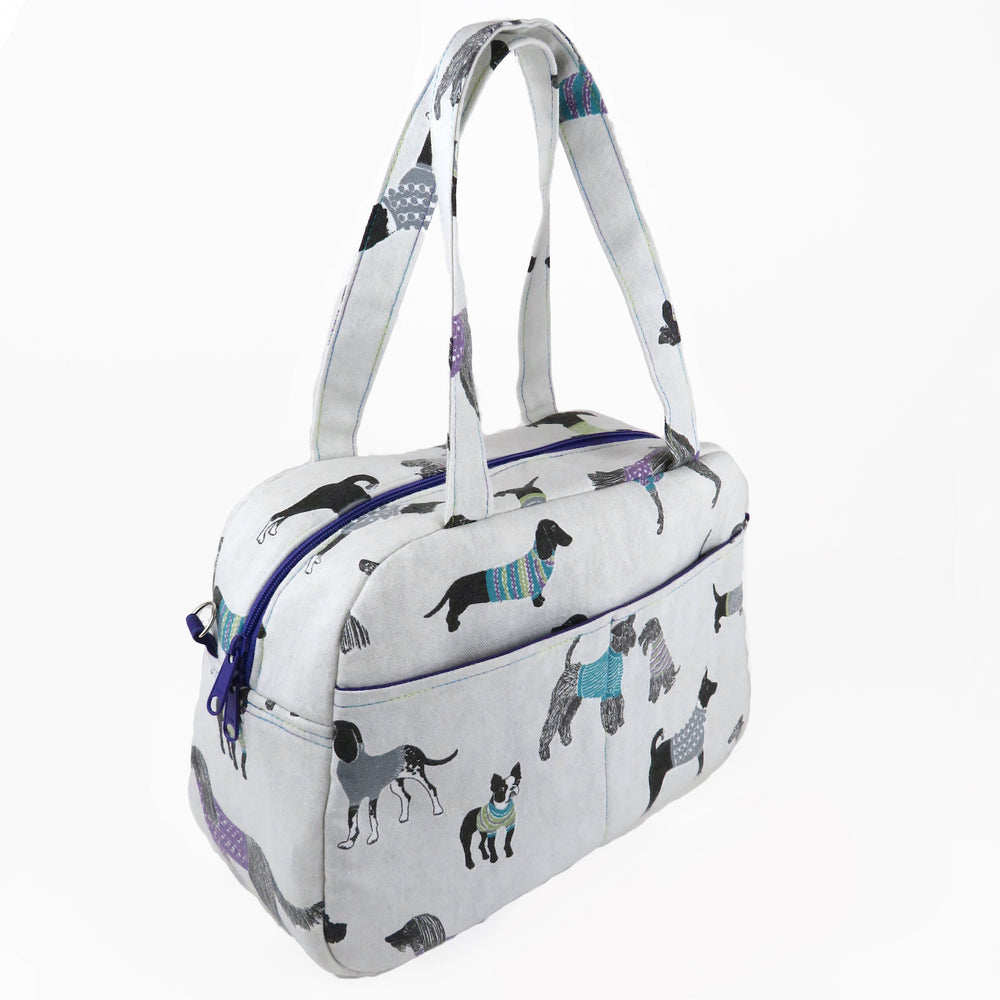
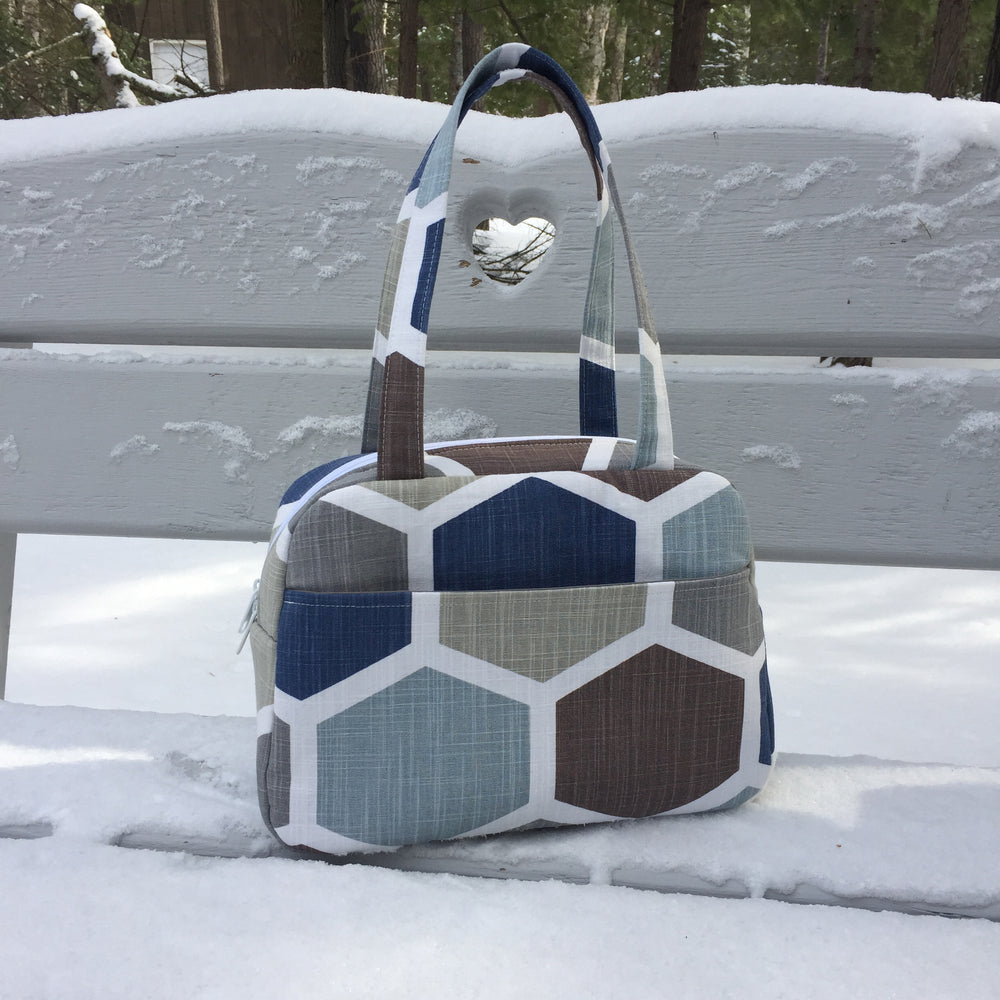
- Small finished size: Approx. 12" wide x 8" tall x 5" deep
- Large finished size: Approx. 16" wide x 11" tall x 7.5" deep
- 34 pages of detailed instructions with 160+ photos
- Total of 52 pages including 7 pages of pattern pieces for the small size and 11 pages of pattern pieces for the large size.
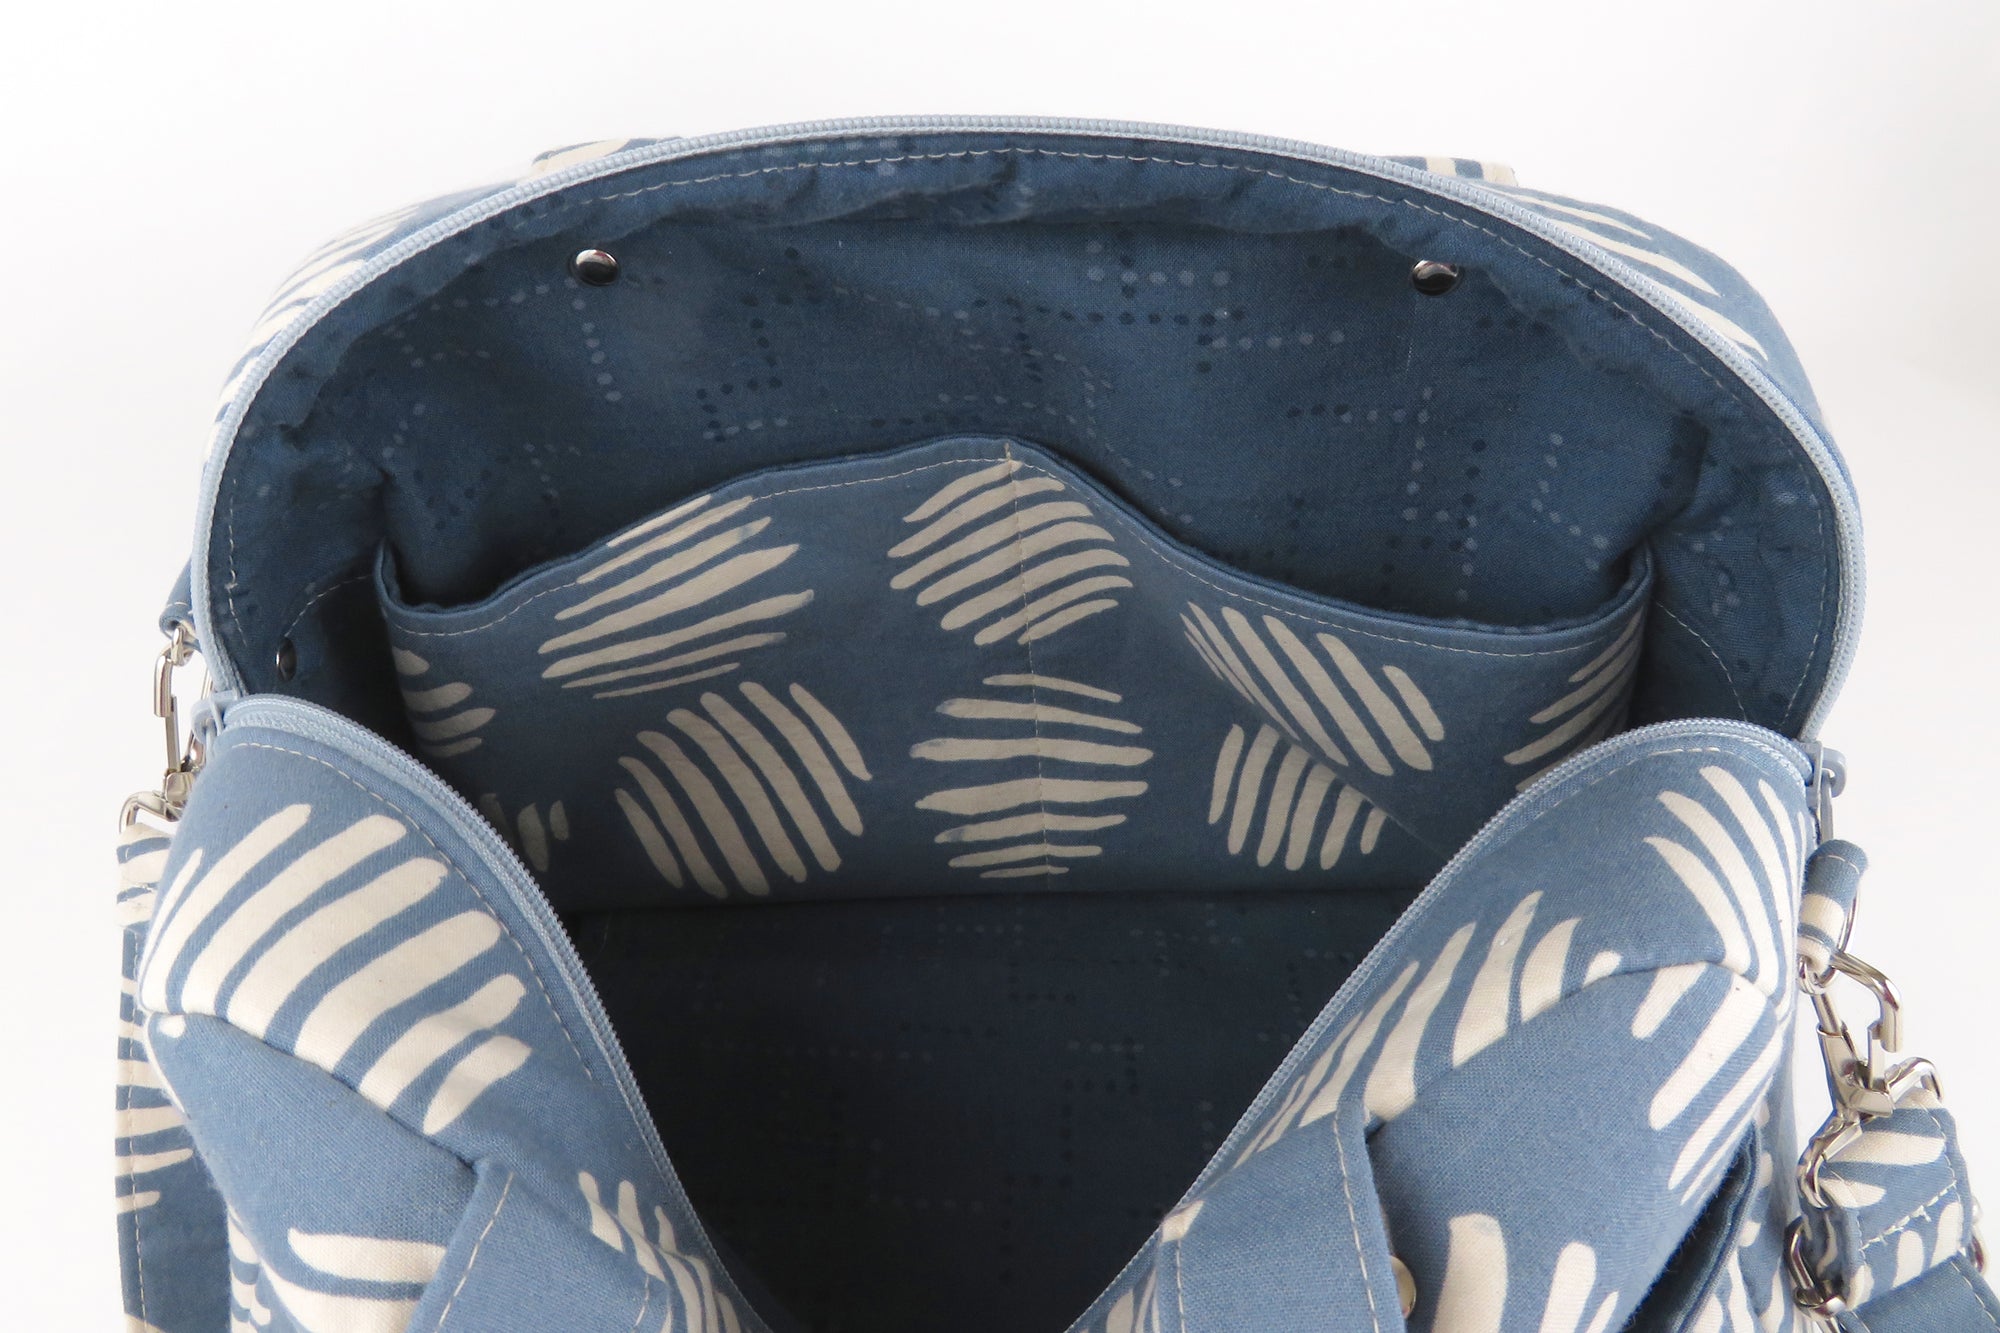
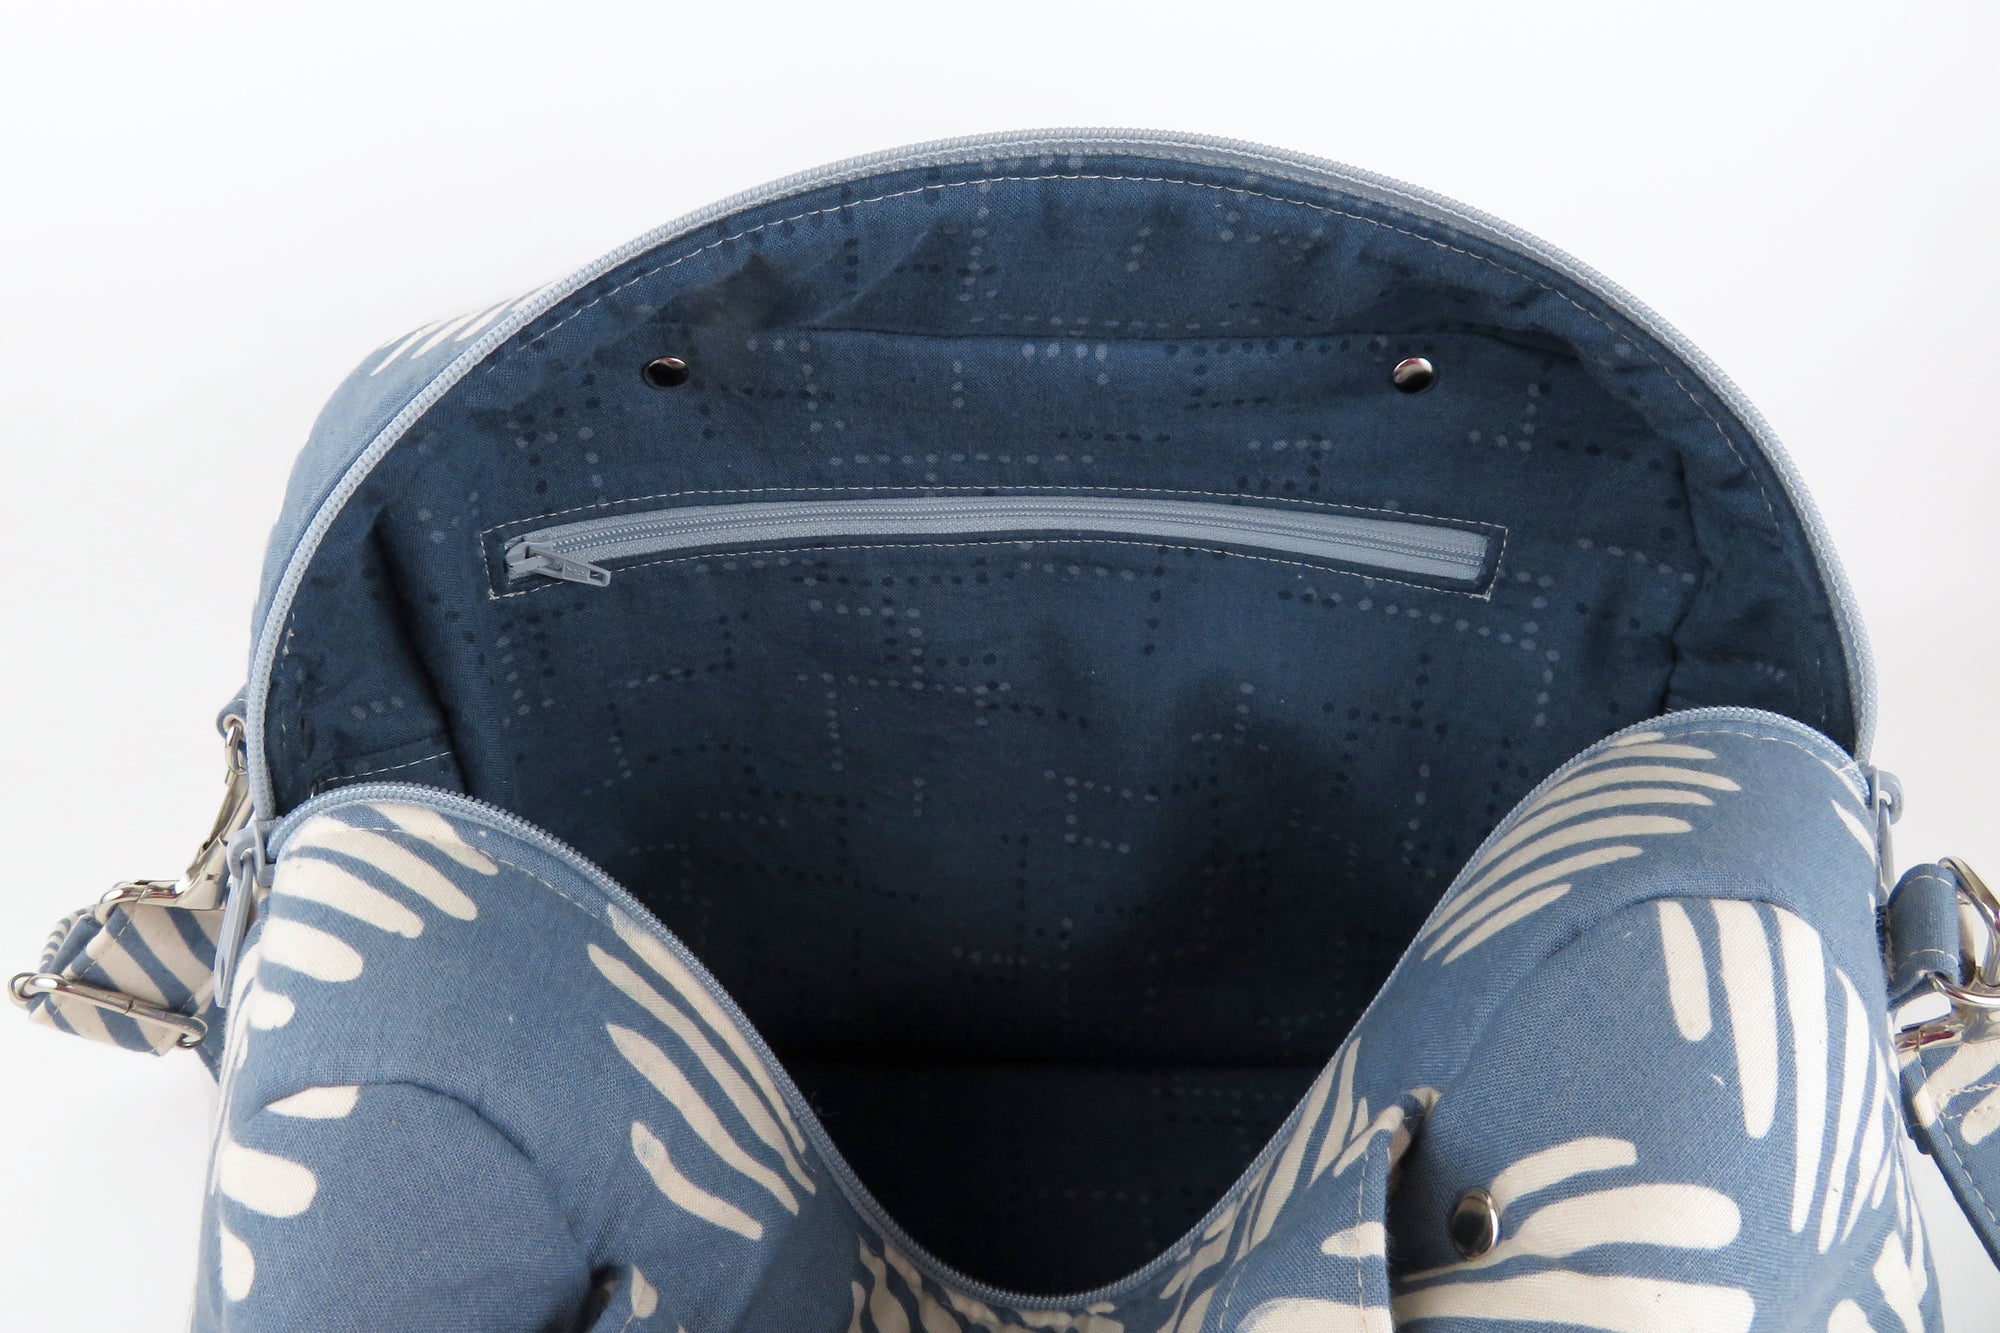
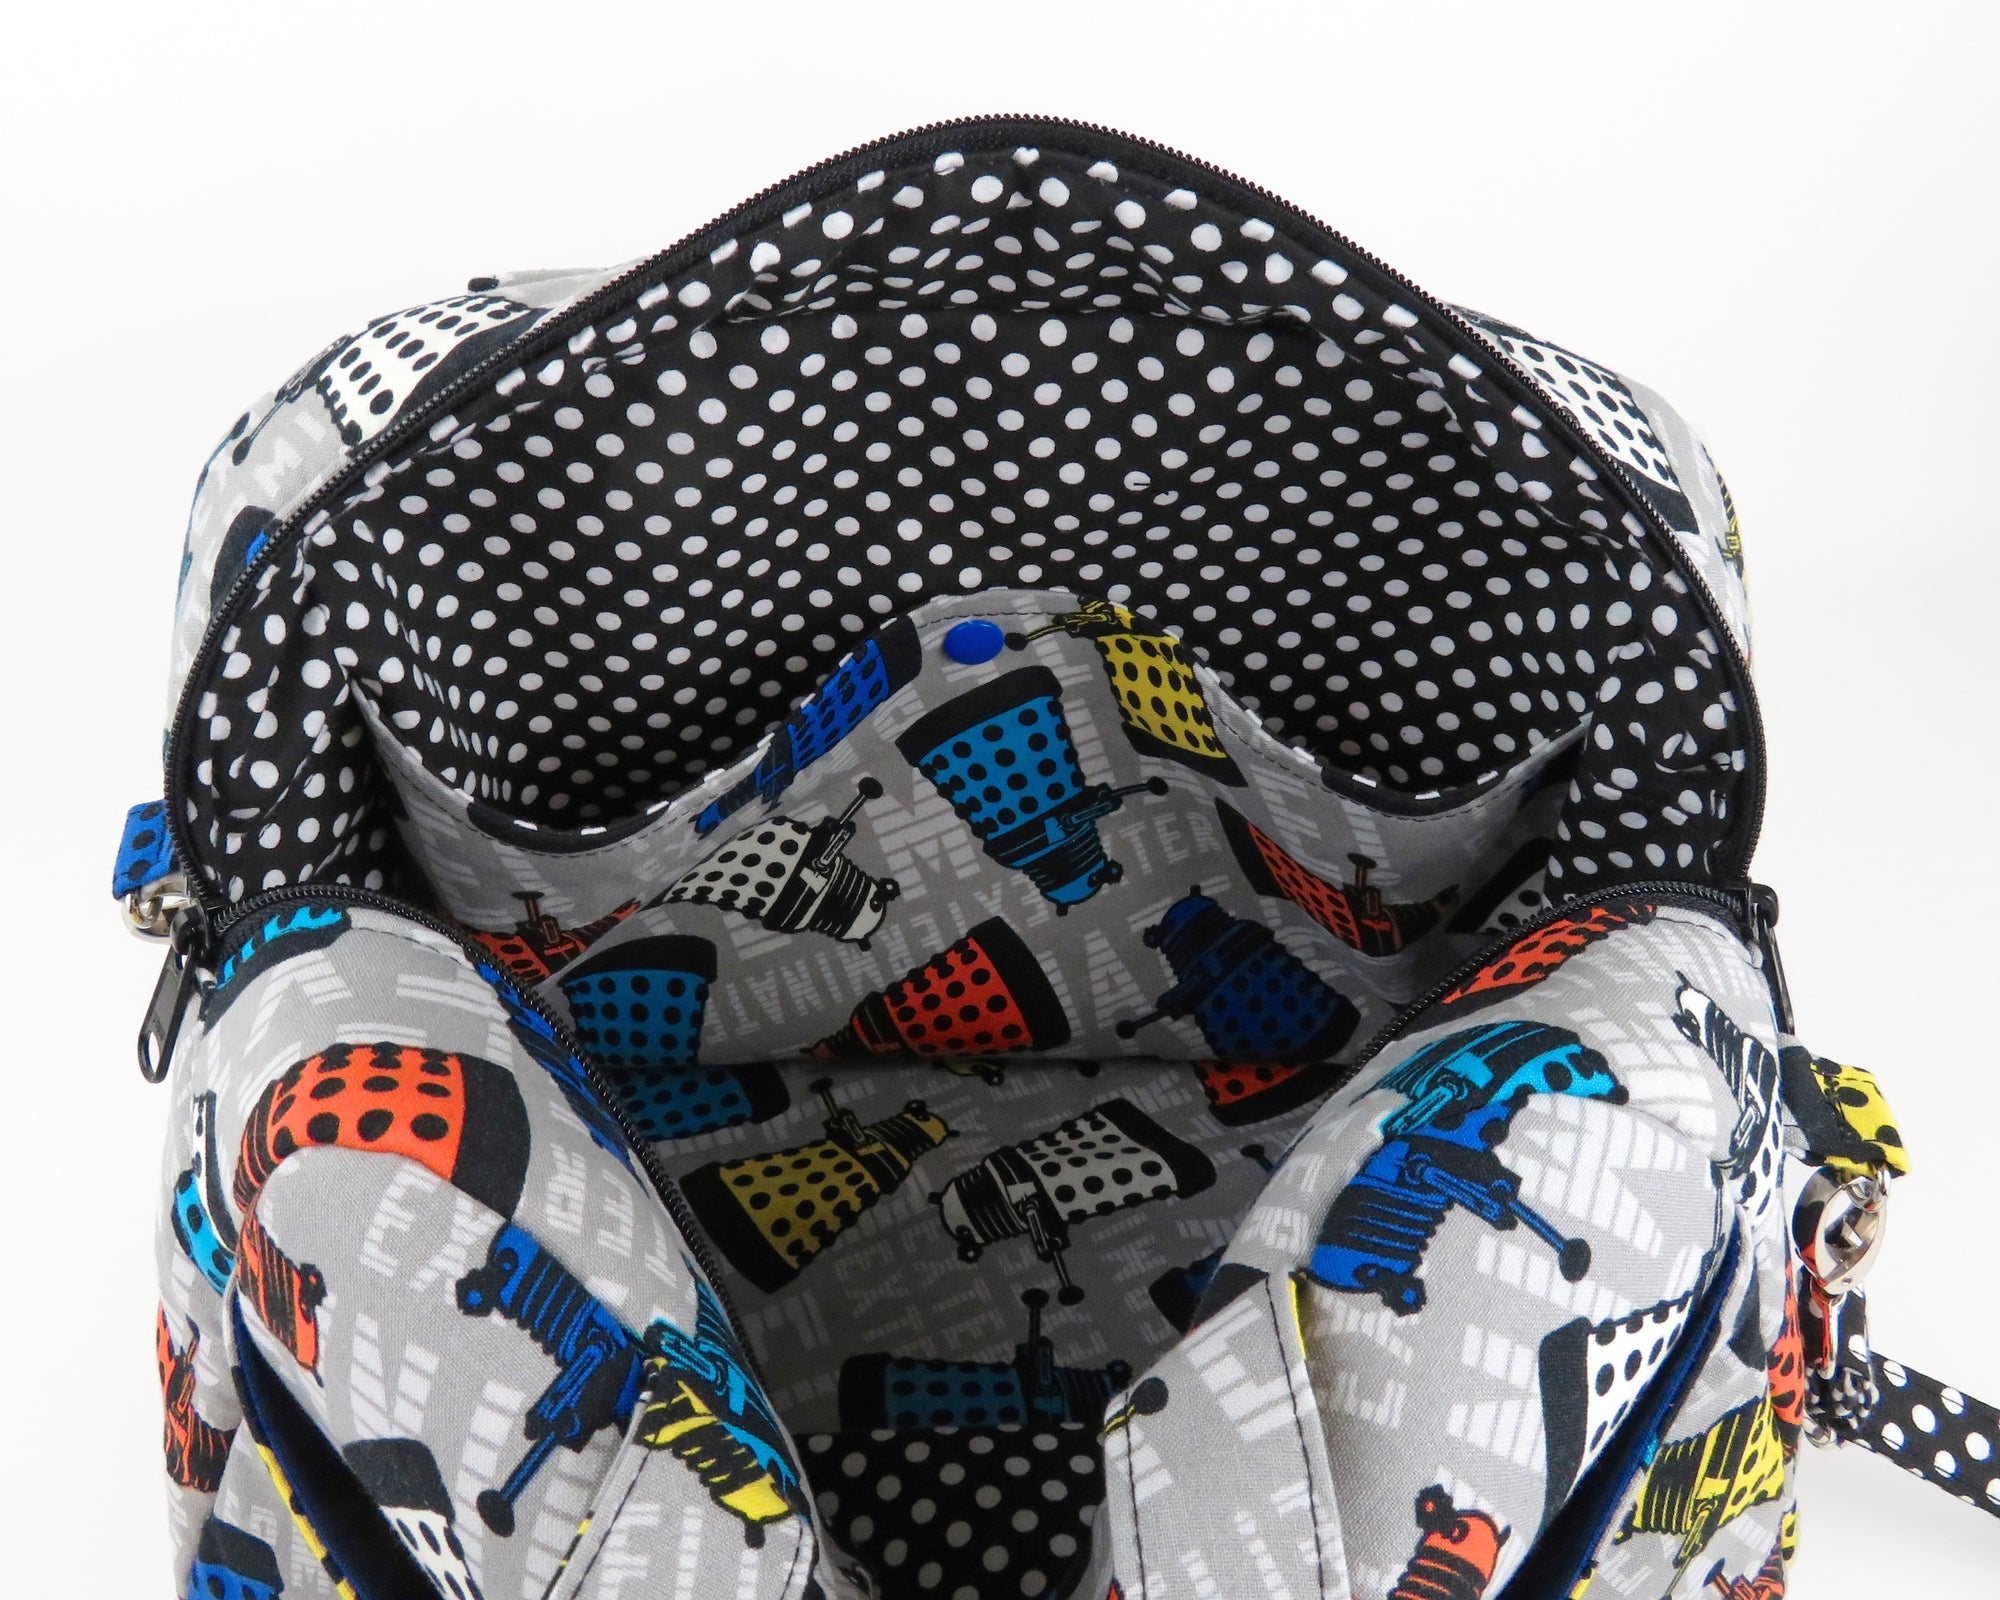
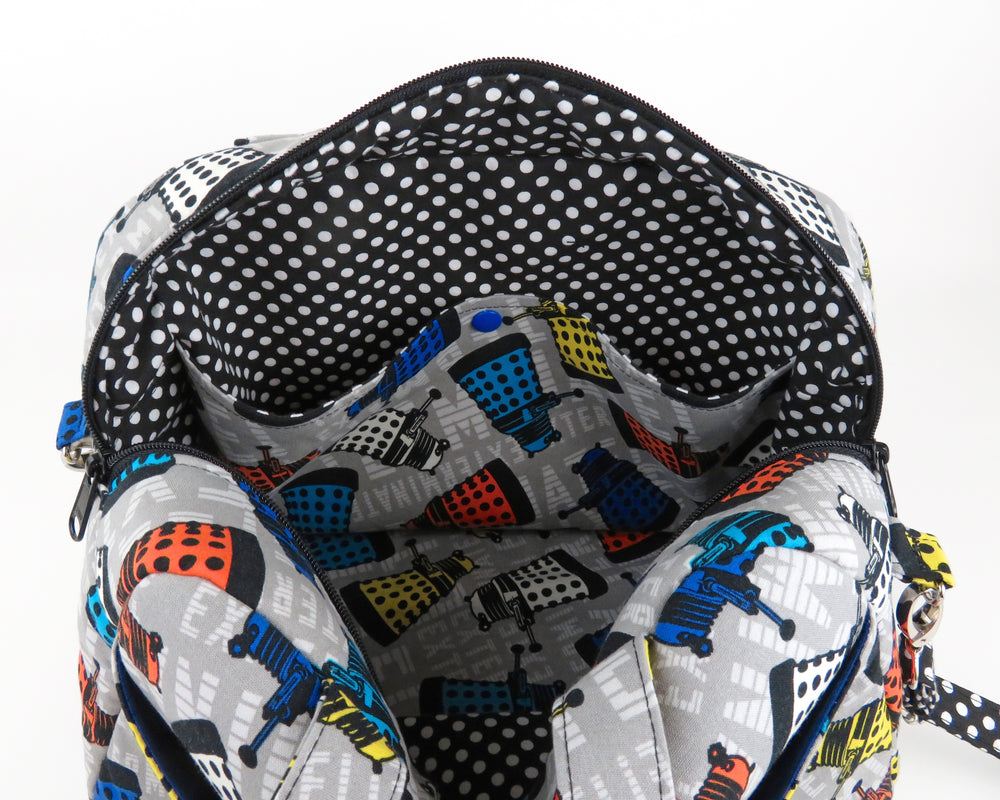
- NO drop-in lining. This unique method allows for a birthed bag while still assembling the lining separately and attaching it at the end of the assembly process. This method also prevents the top of the lining from sagging.
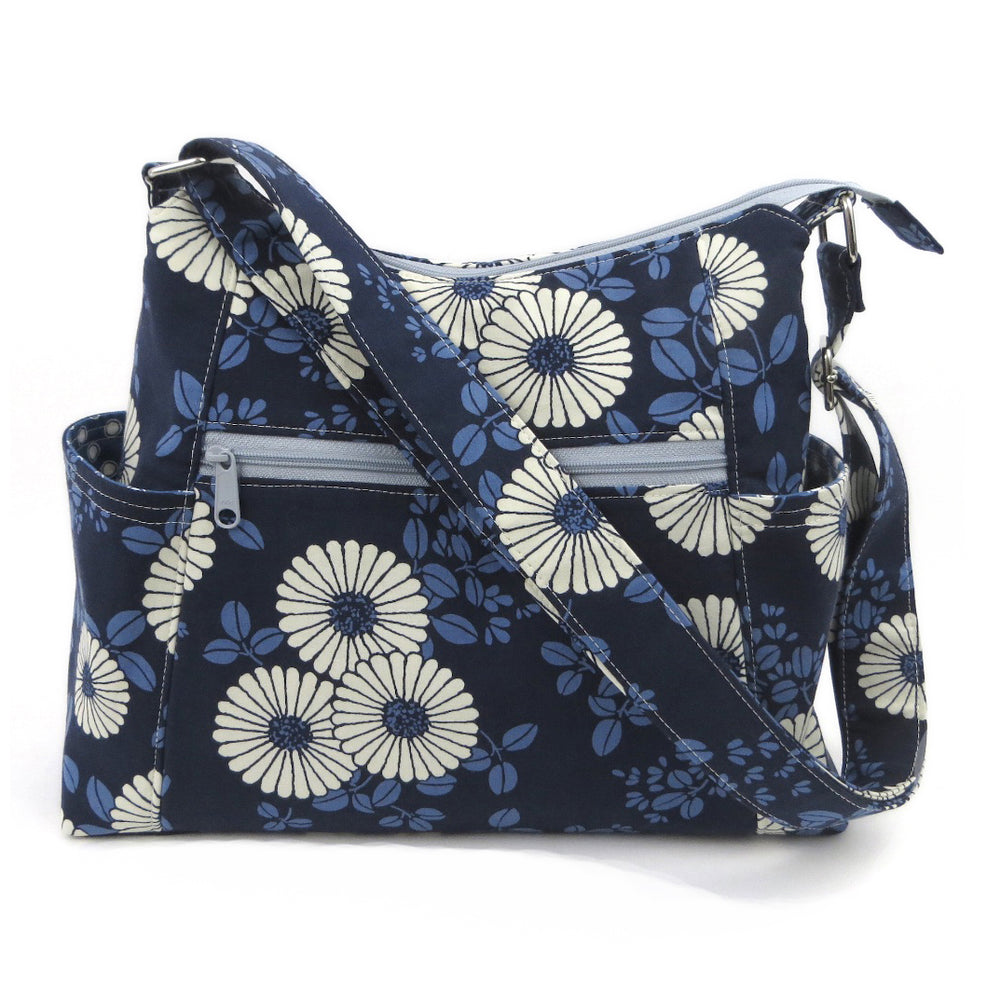
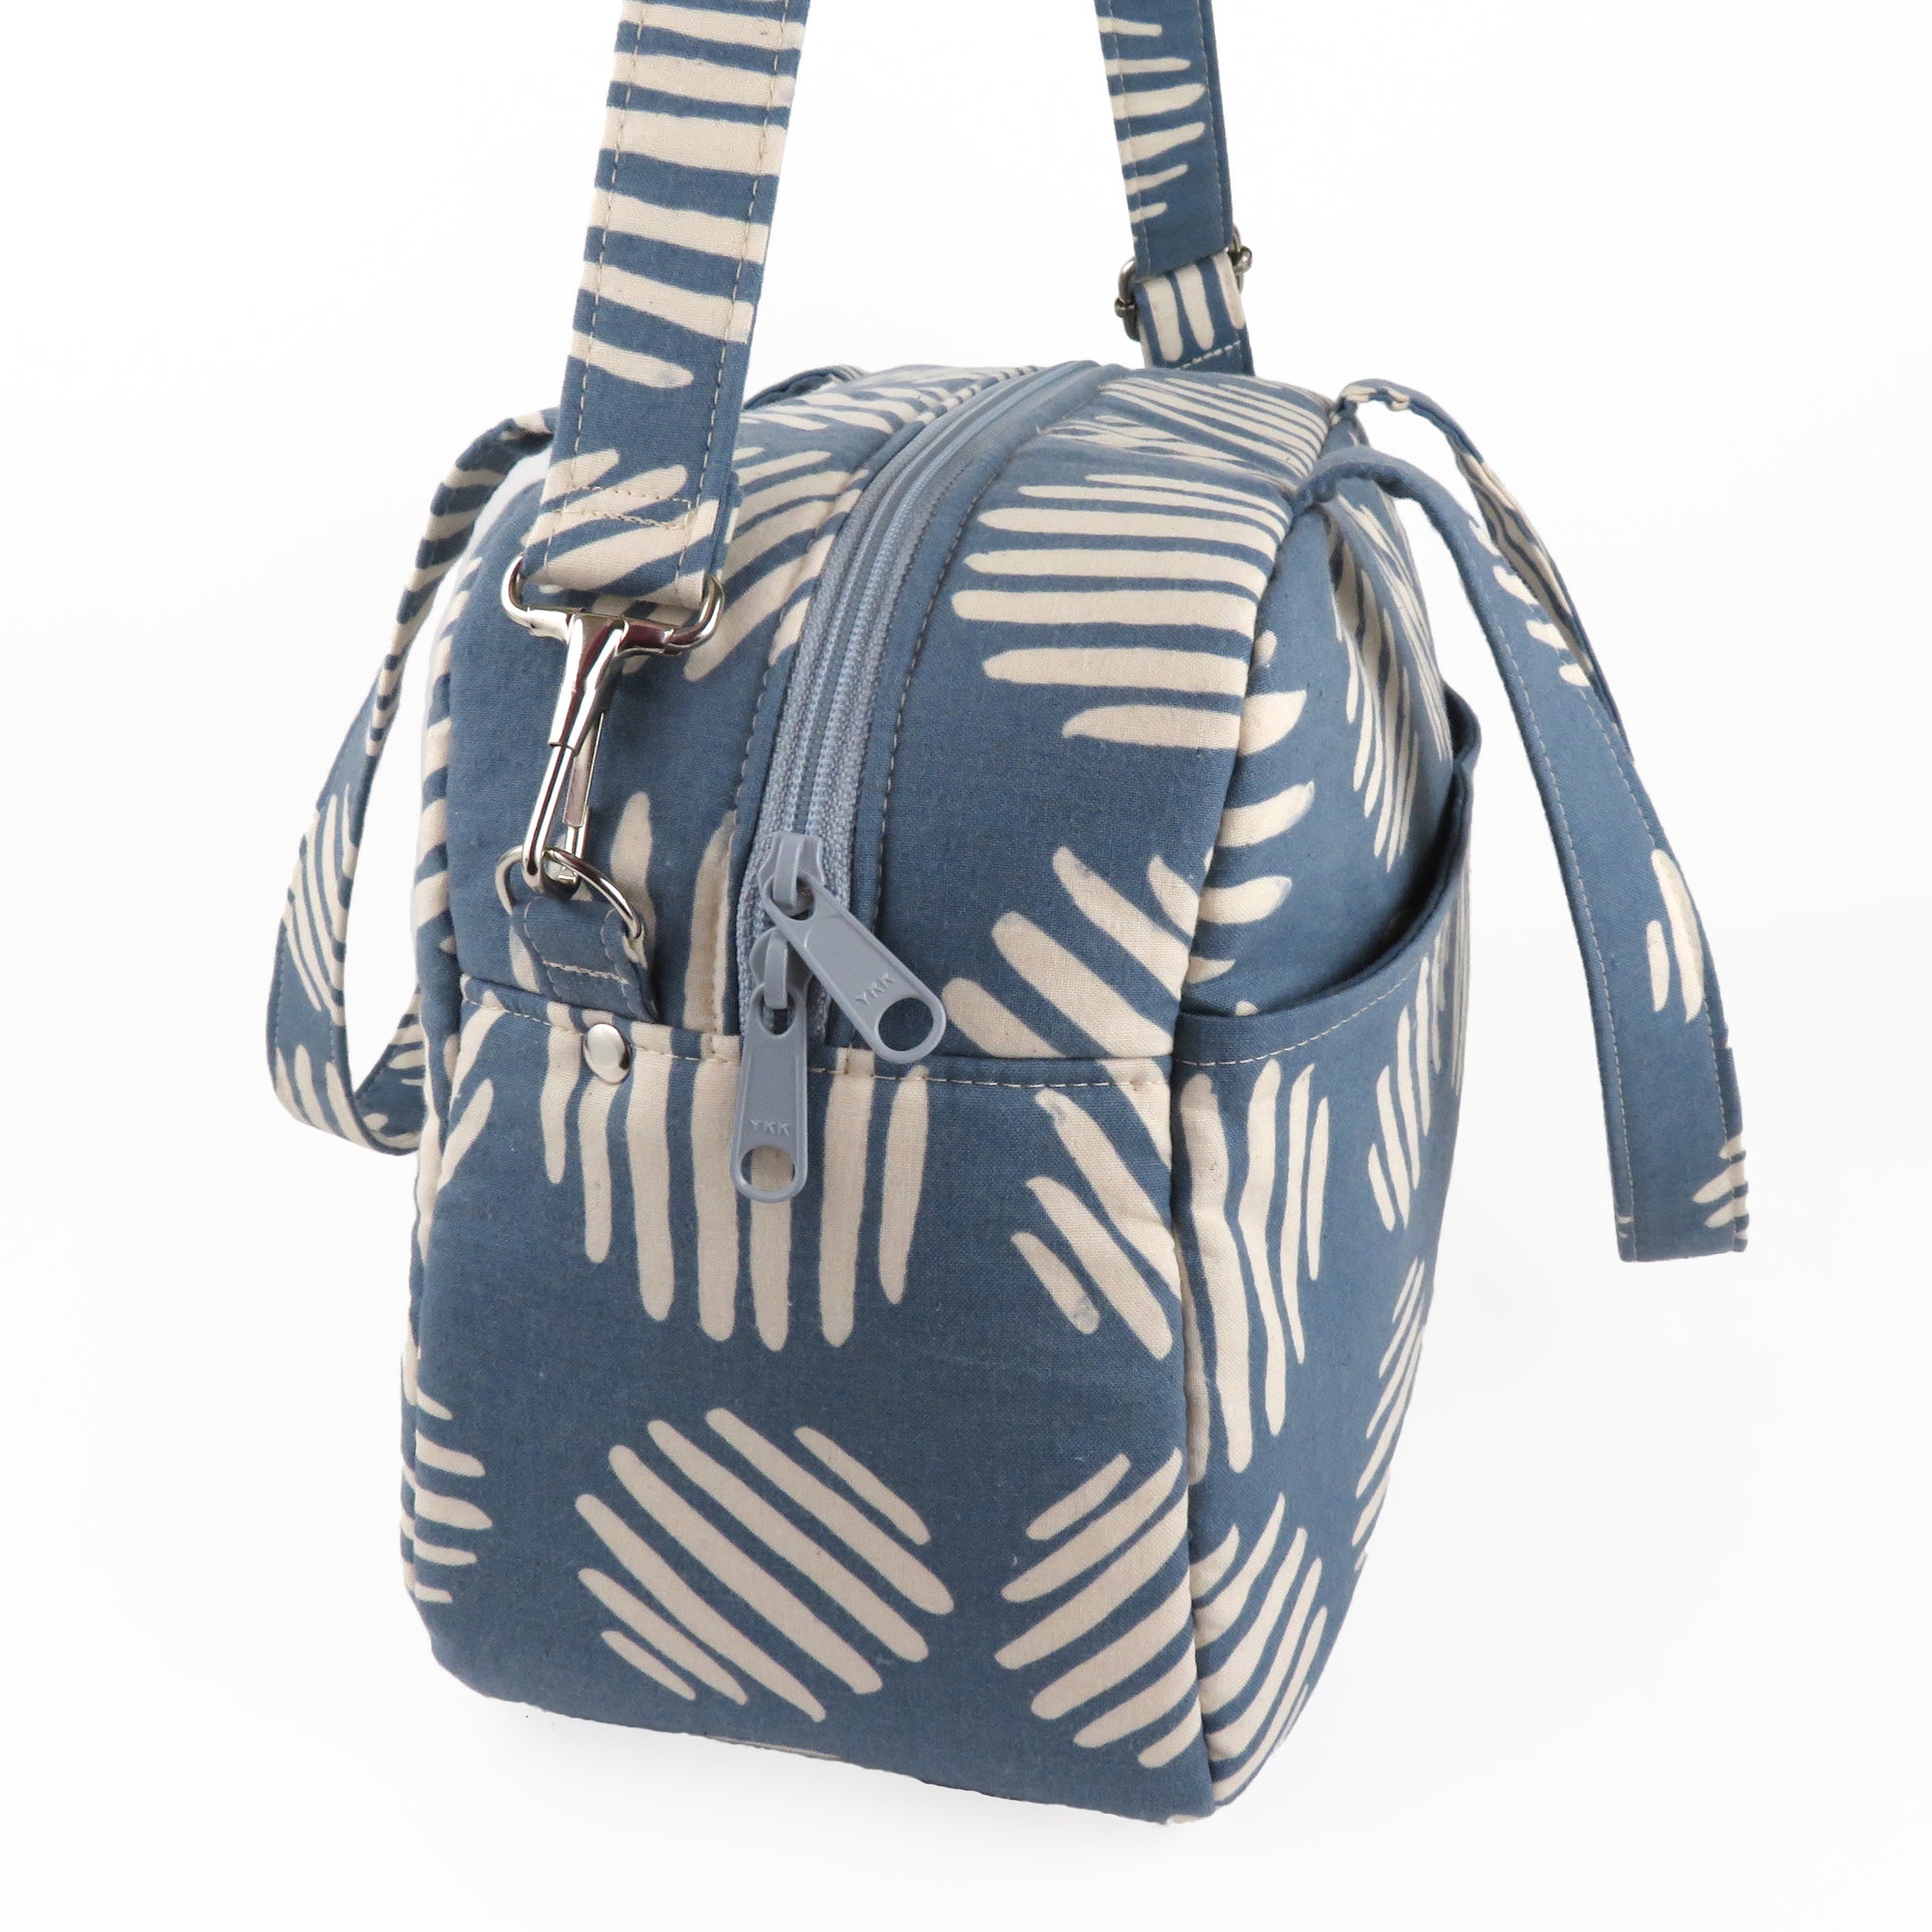
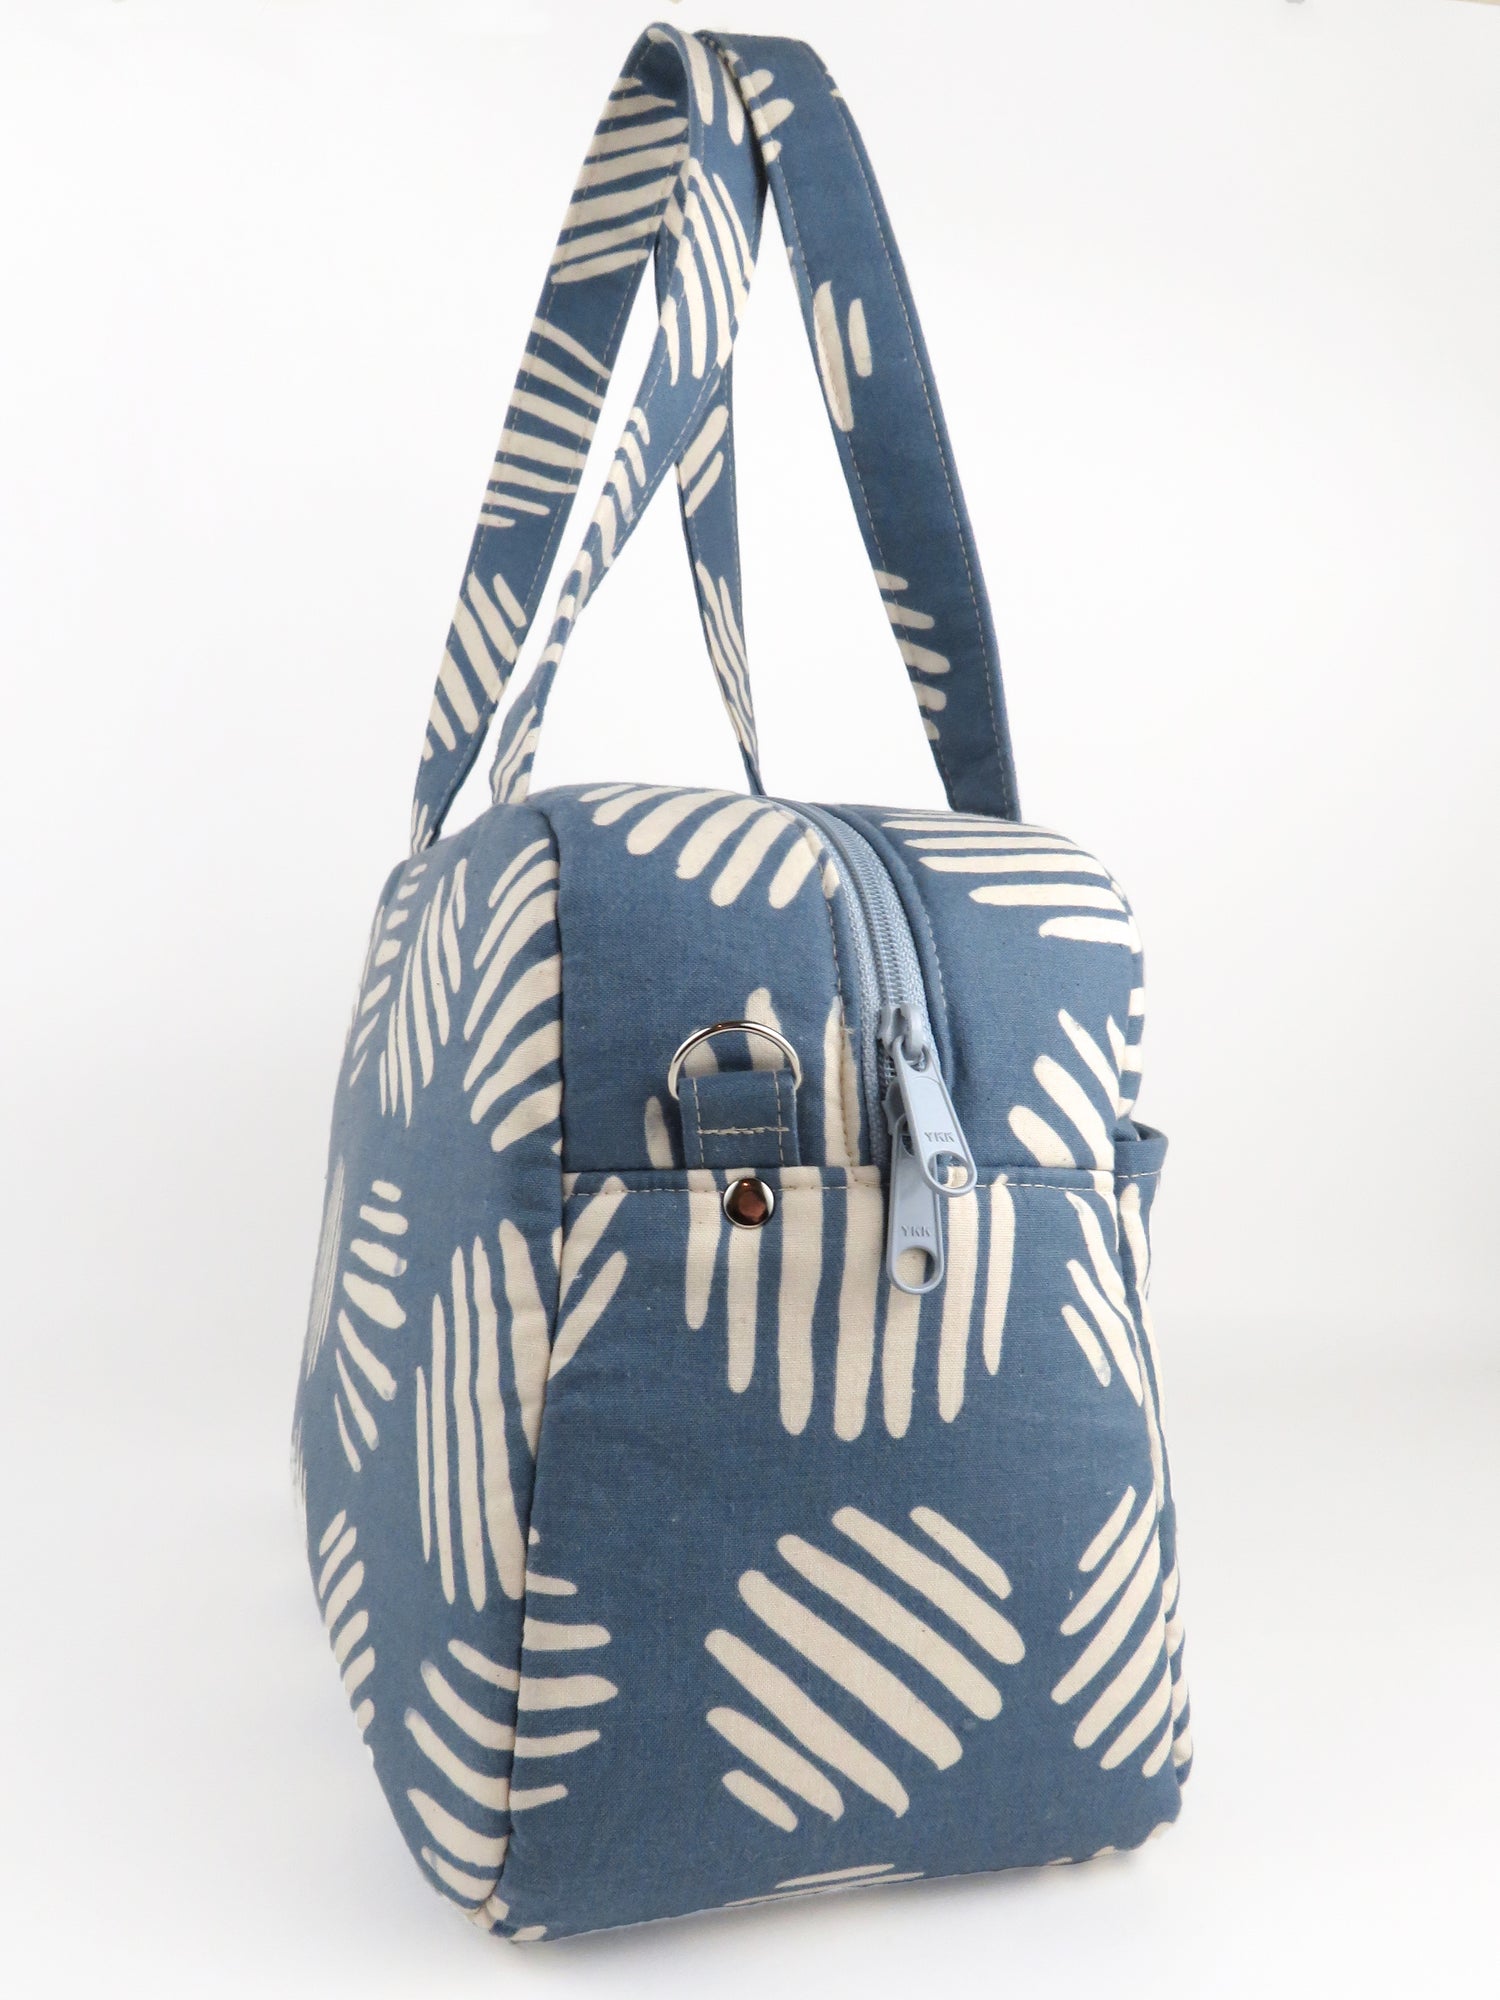
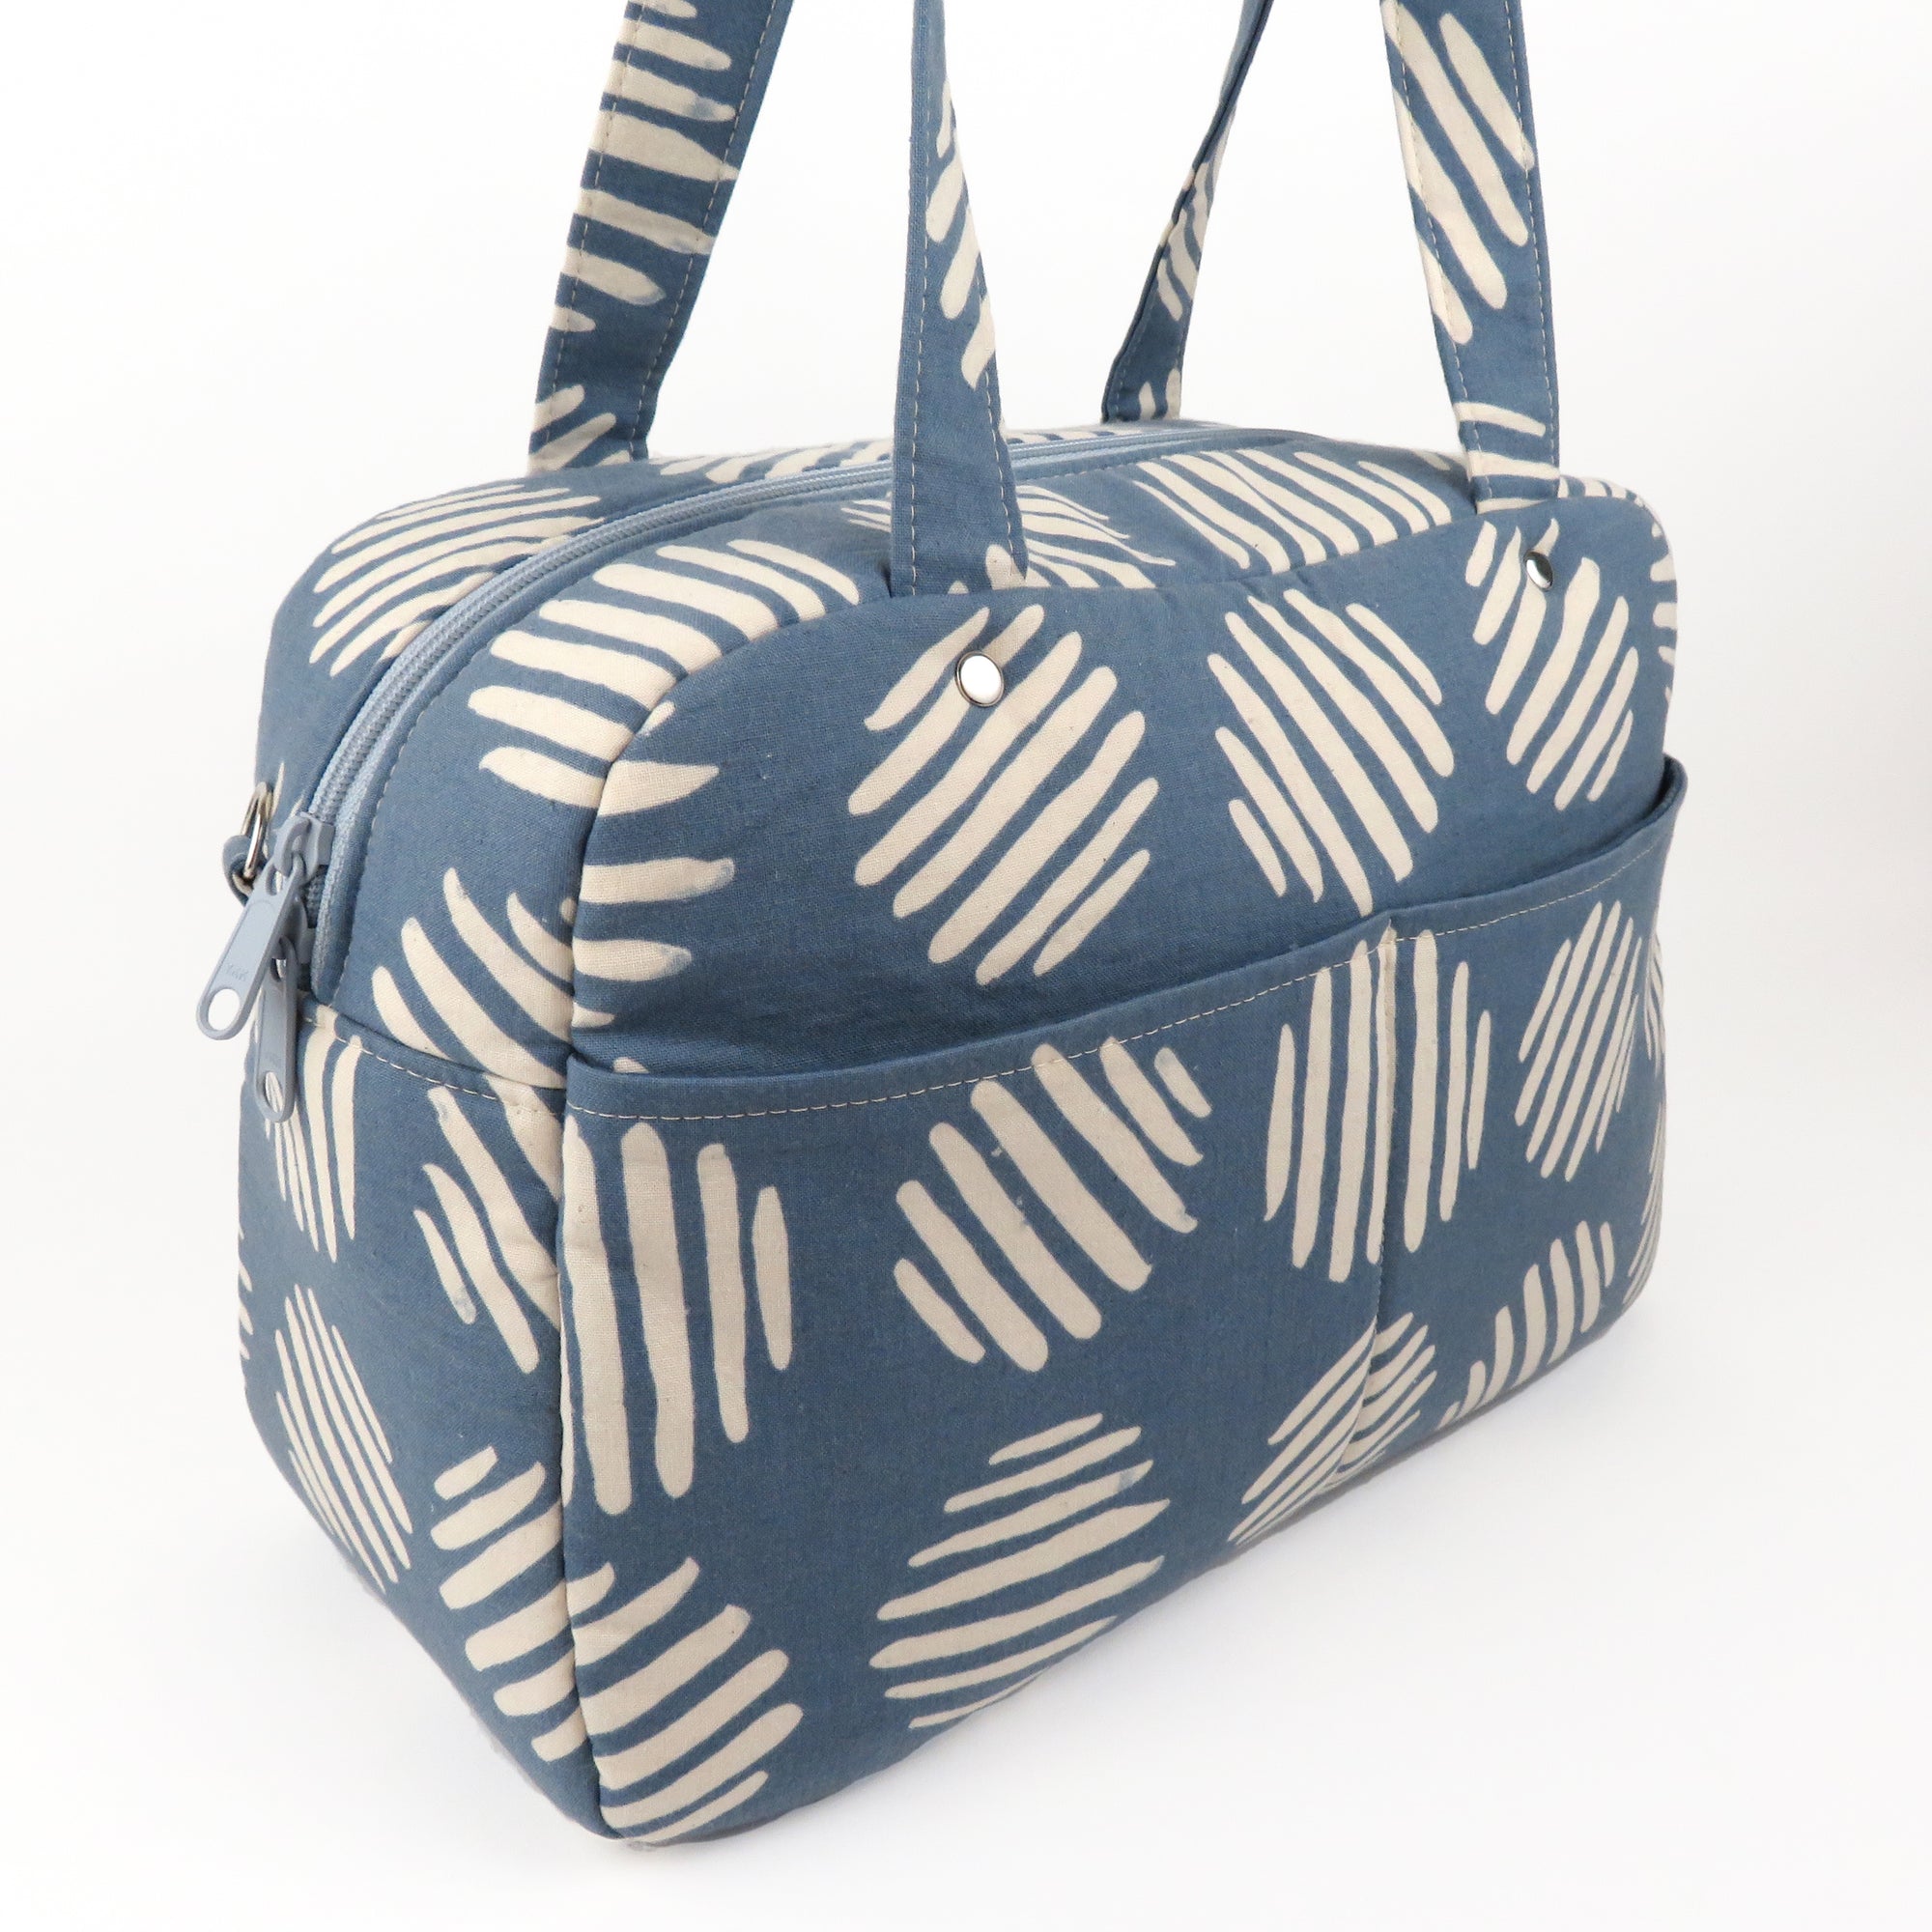
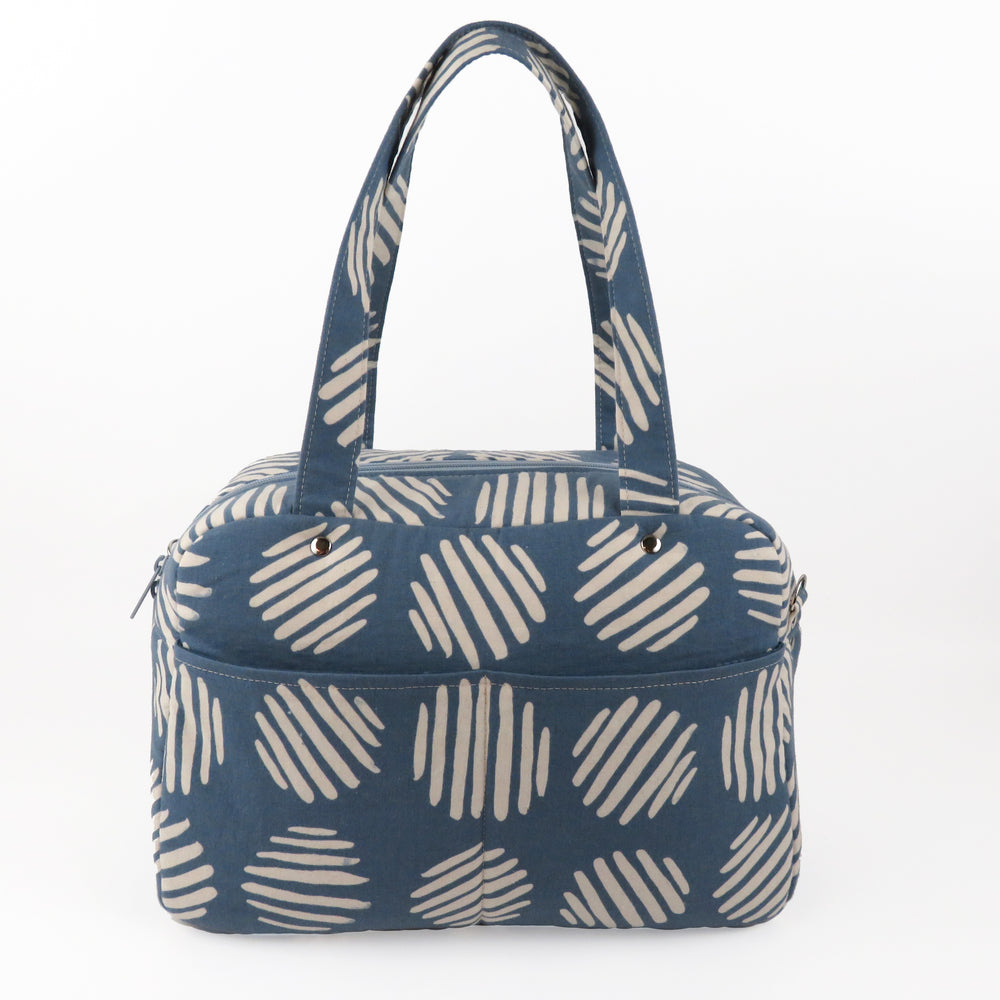
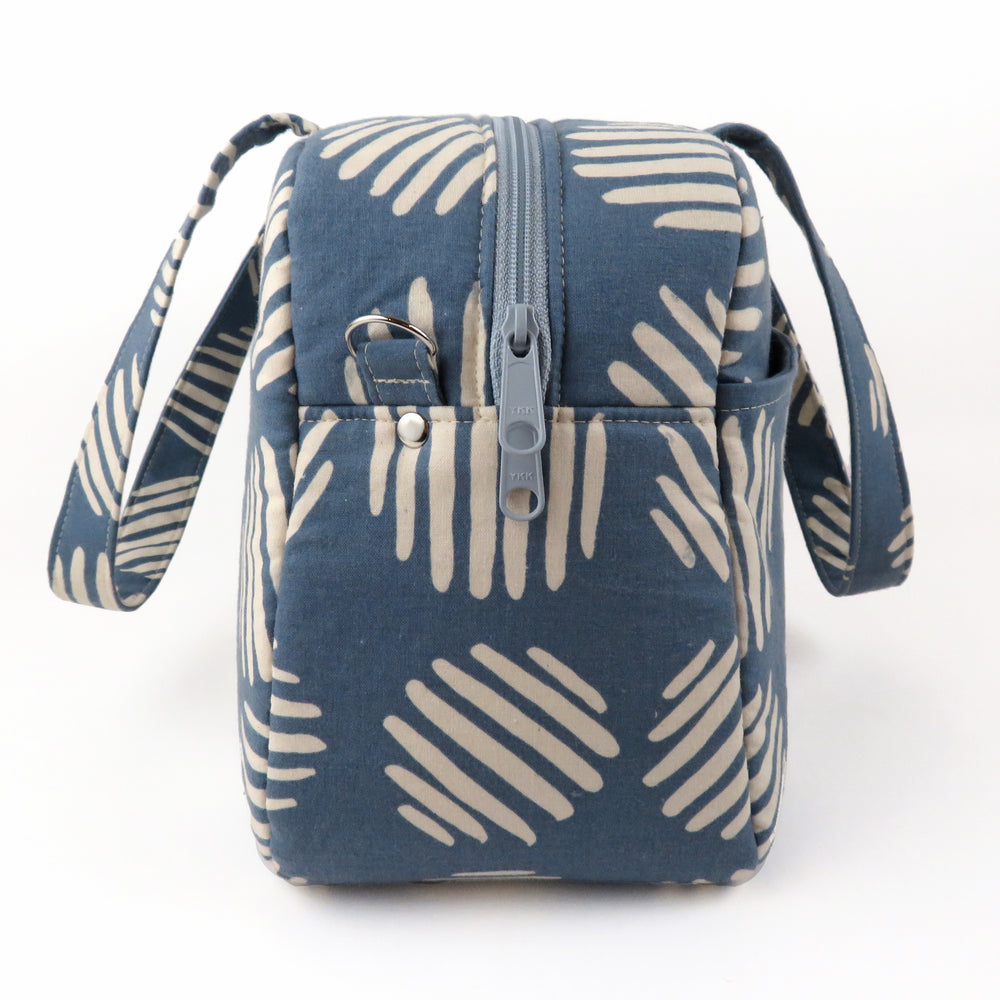
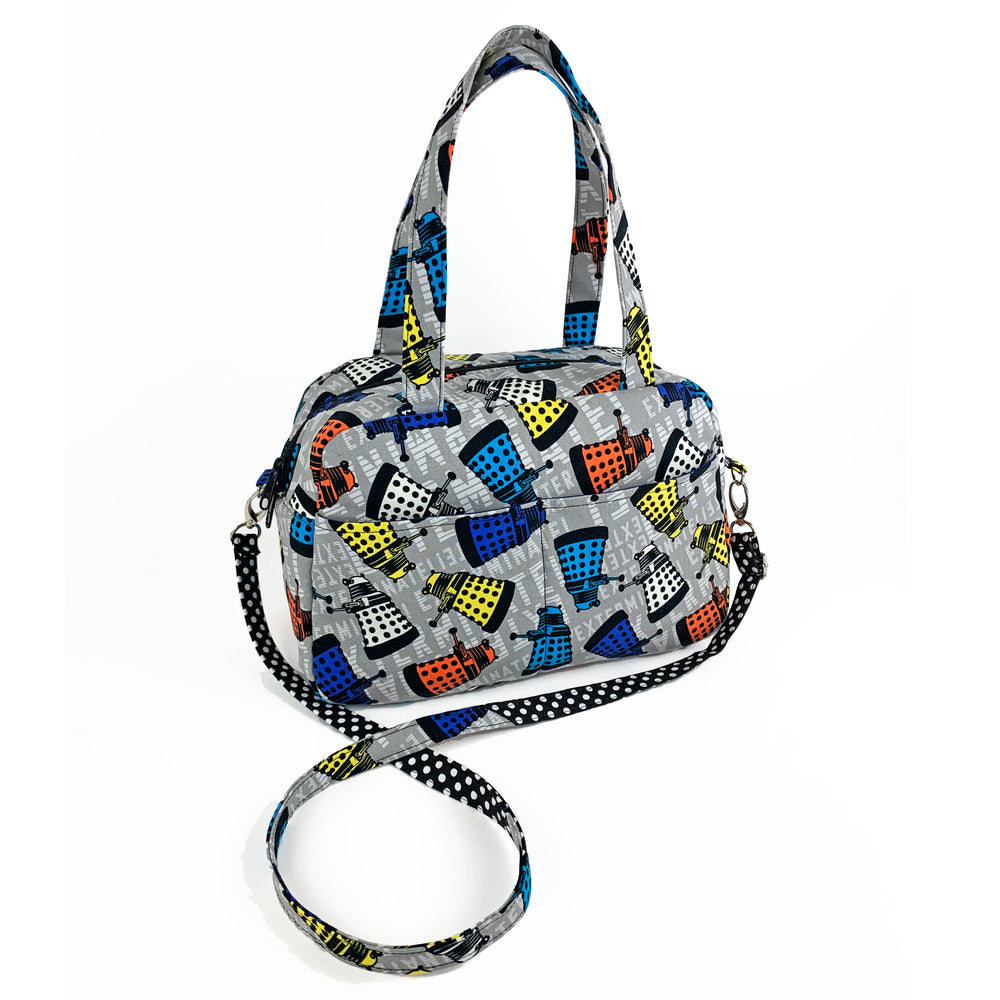
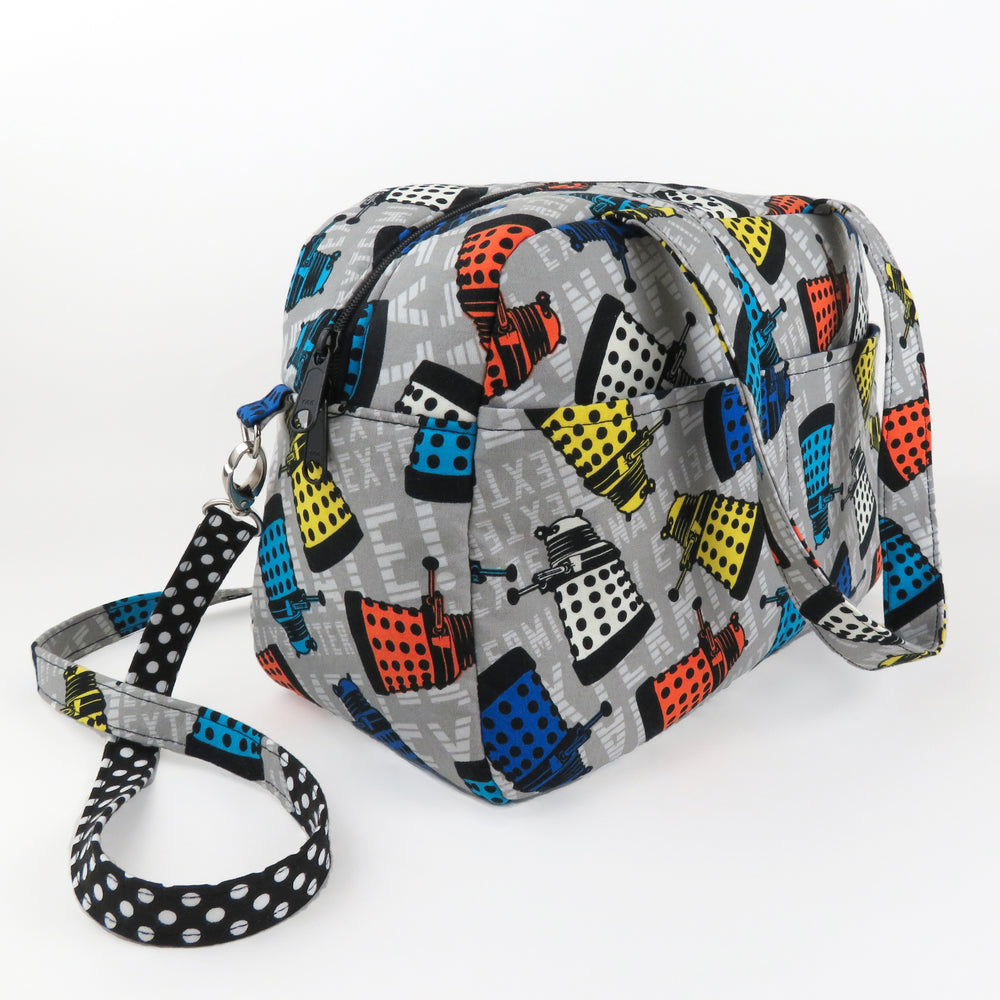
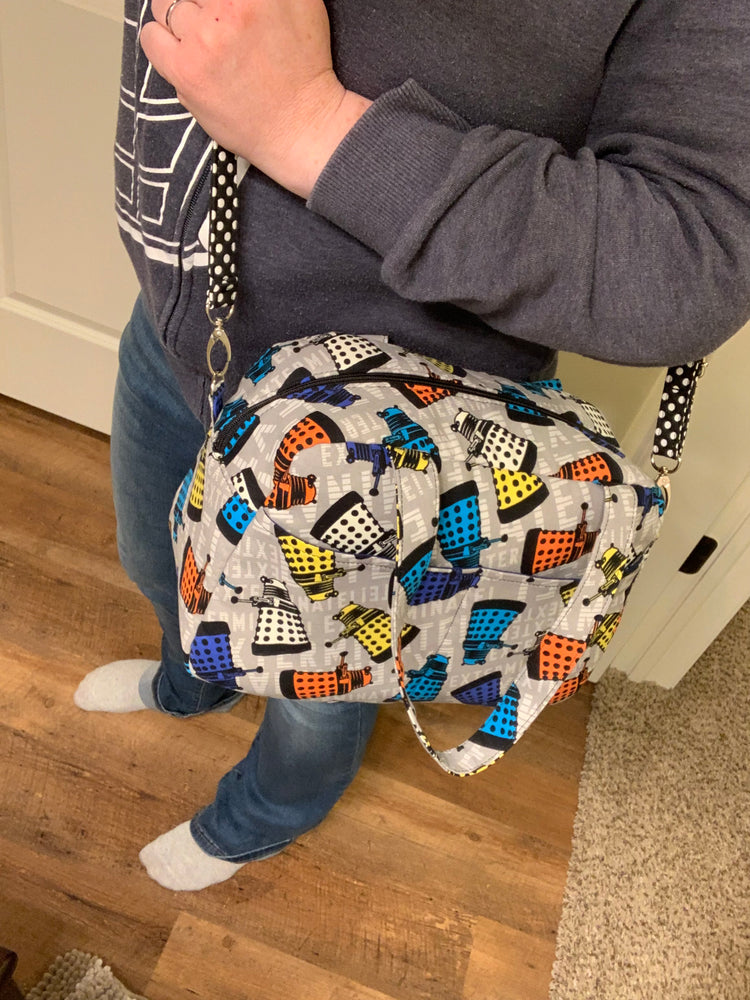
- The Daily Duffel has two slip pockets and one zippered pocket, with room to add additional pockets. Also includes instructions for an adjustable shoulder strap.
- Small size is appropriate for a child, or as a toddler diaper/snack bag. Large size is perfect as an overnight bag for an adult (fits shoes, full change of clothes, toiletries, etc.) or as a large gym bag.
- This is a PDF Sewing Pattern.
- You must be able to save, and print a PDF file.
- Download link is provided after purchase.
- Sorry, no refunds on digital products.
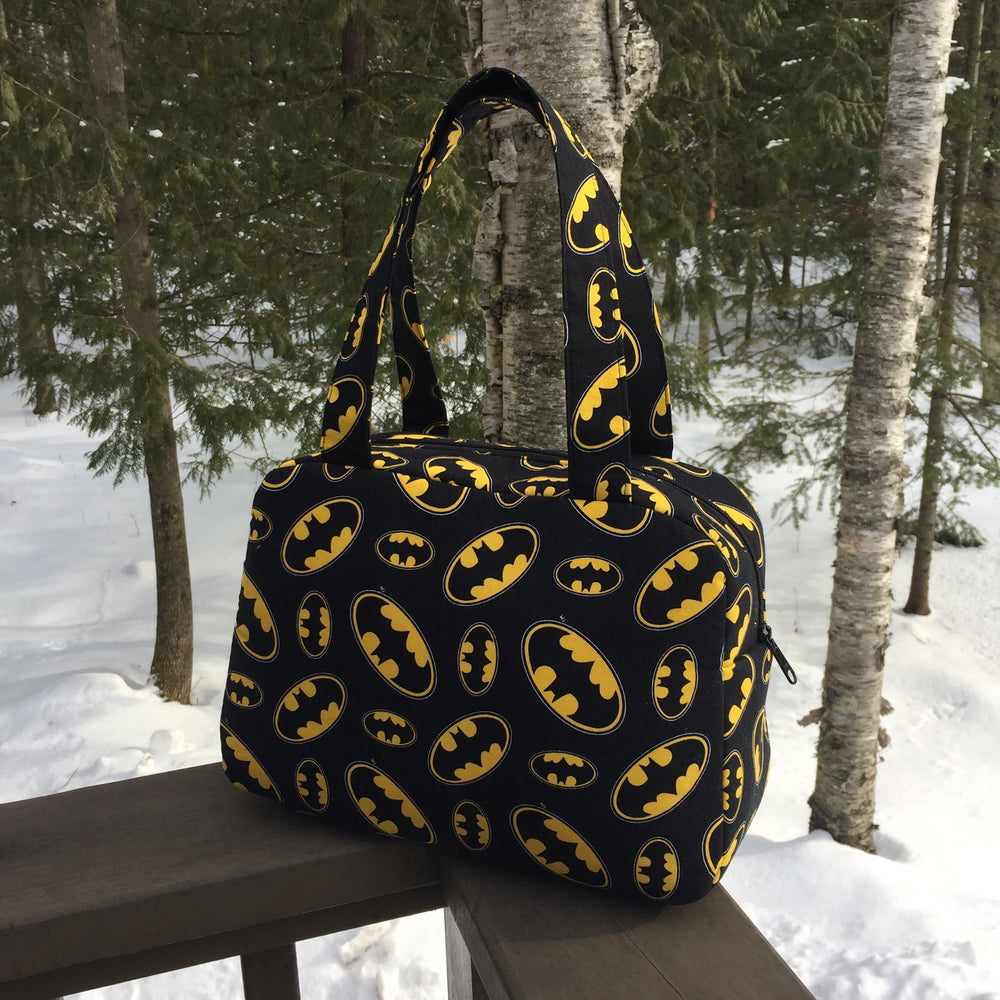
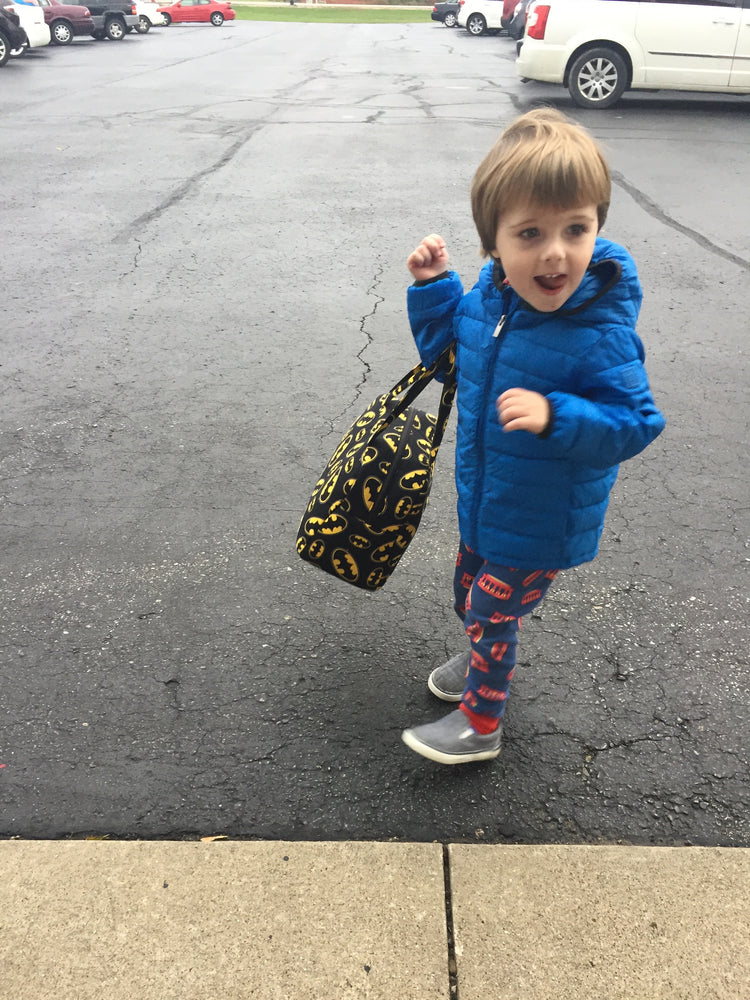
I made Emmett's "Batman" bag over a year ago, when we attempted dance classes. We've continued to use it as a travel/snack bag and toddler bag and even his daycare bag ever since. It's been washed over and over and well loved, and now it is time to share the love!
My mom asked me for one to use for a car tote, and we realized it's perfect for that as well! She carries a tiny purse that would never fit a water bottle, etc. so she loads up her duffel with her water, coffee tumbler, phone charger, iPad, and anything else she wants to take to and from the car. It's like a boarding bag but for daily use!
The larger size came from the Facebook Group - always eager to add options and hacks to my patterns. They asked if it could be printed larger, which it can, but the smaller size already maxed out the letter sized paper, so printing larger would be a challenge. The larger size is approximately 130% of the small size - slightly different as it was drafted (drawn) separately, but very close. What you can do is print the larger size *smaller*! Printing the large size around 88% will get you halfway in between. And this way, all of the sizes of the rectangle pieces are included for both sizes - no math required if you choose one of the two sizes included.
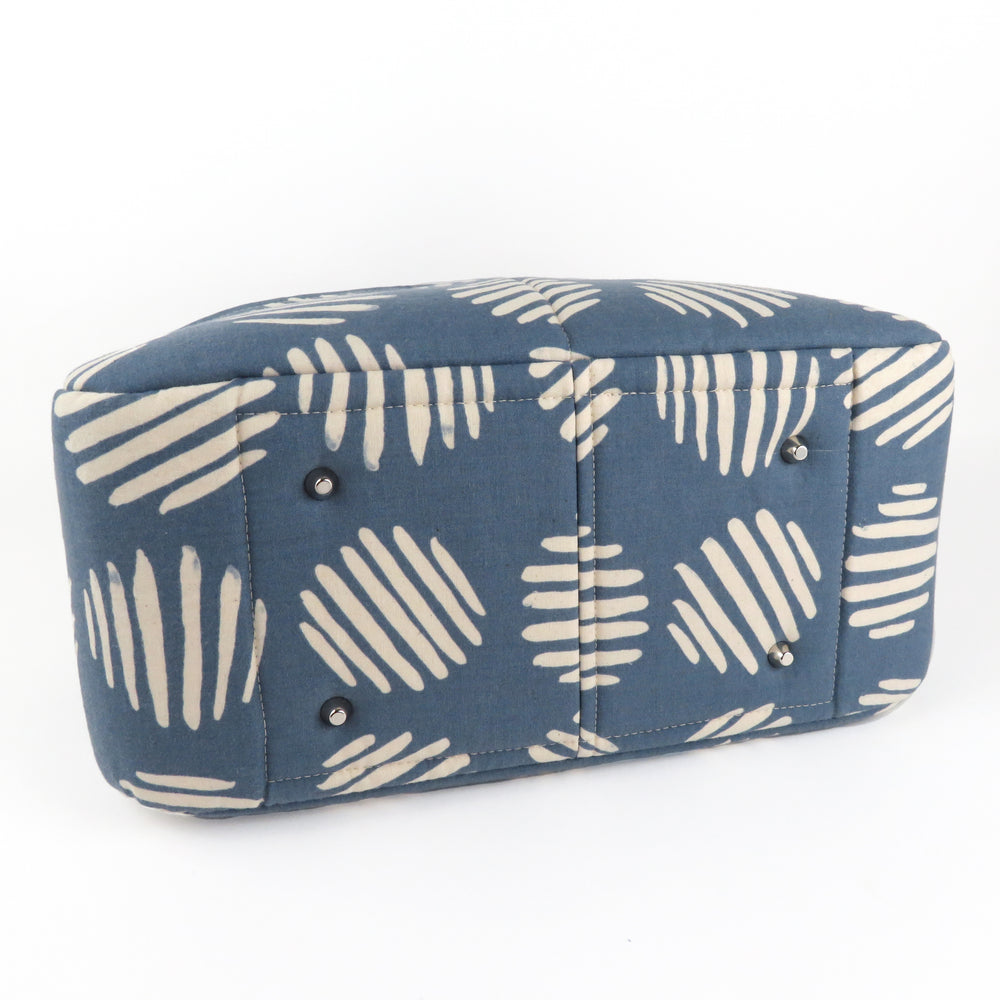
For pockets - I kept it light since I wanted to focus on techniques. Pockets can also be very personal, so there's no point wasting pages and pages on them. There is one style of slip pocket that you can add to any or all of the four sides. It is cut slightly wider to allow for a little bit of give so that the whole bag doesn't collapse when you put your hand it in. One option many of my testers and I chose to do was add a snap instead of stitching down the middle of the pocket - this way a small/mini tablet can fit in the pocket, or diapers can fit sideways, but if you don't have a large item in the pocket you can snap it shut so that it doesn't gape open. There is also an interior welt zipper pocket (no raw edges!) that you can use to turn the bag, allowing for a nice finish on the bottom that won't interfere with the hard base. If you want to discuss more pocket options or hacks, pop into that Facebook group and ask! I think we'll be playing around with this bag quite a bit!
Speaking of techniques - the reason I waited so long on this bag is that I wanted to get it right, which meant making a dozen of them. See, on the Batman bag, I used a technique similar to Date Night and Spring Fling, but it meant the side couldn't be topstitched. This was important to everyone I asked, so I worked on it until I figured out a different way of sewing it - something I've never seen before! Some birthing techniques require you to leave off a whole side and then sandwich the bag, or need you to attach the lining to the zipper at the very beginning and carry that attached lining through the entire assembly process. This technique allows you to assemble the exterior and lining separately, just like you would with a drop-in lining, and then you birth it at the very end. It will require a little bit of double stick tape, but I think the clean result is worth it. On this style of bag, you really do have to give up something - you either need to use a drop-in lining, binding, wrestle that final side on an otherwise finished bag, or drag that whole bag around with the lining attached. This is a different, new way and it only requires a few inches of "wrestling" when you topstitch. Go slow, use basting tape, and stick to the recommended materials and I think you will love it! The testers were very pleased, and I can't wait to hear your opinion!
Now, it looks like the fabric/hardware requirements are a bit heavy for this bag BUT - you do not need to add bag feet, and you don't need to add all of the pockets. The Batman bag has no pockets, and it's fine. I do recommend if you are going to be using the large size for HEAVY loads - not your running shoes and a sweatshirt but your platform heels and your hair dryer - you need to use the rivets OR stitch a box at the end to reinforce the handles. Because the small size was designed first, the handles were sufficient for anything you could stuff in such a tiny bag, and changing the design significantly for *just* the large size would have made it a totally different pattern. So, please rivet or stitch, and then again, pop into the Facebook group and we will address some alternative handle options if you really want to throw your bag around.
I know we need more "modeled pics" but there's three feet of snow on the ground and I do not want to hold this up any longer! Those will be added ASAP!